
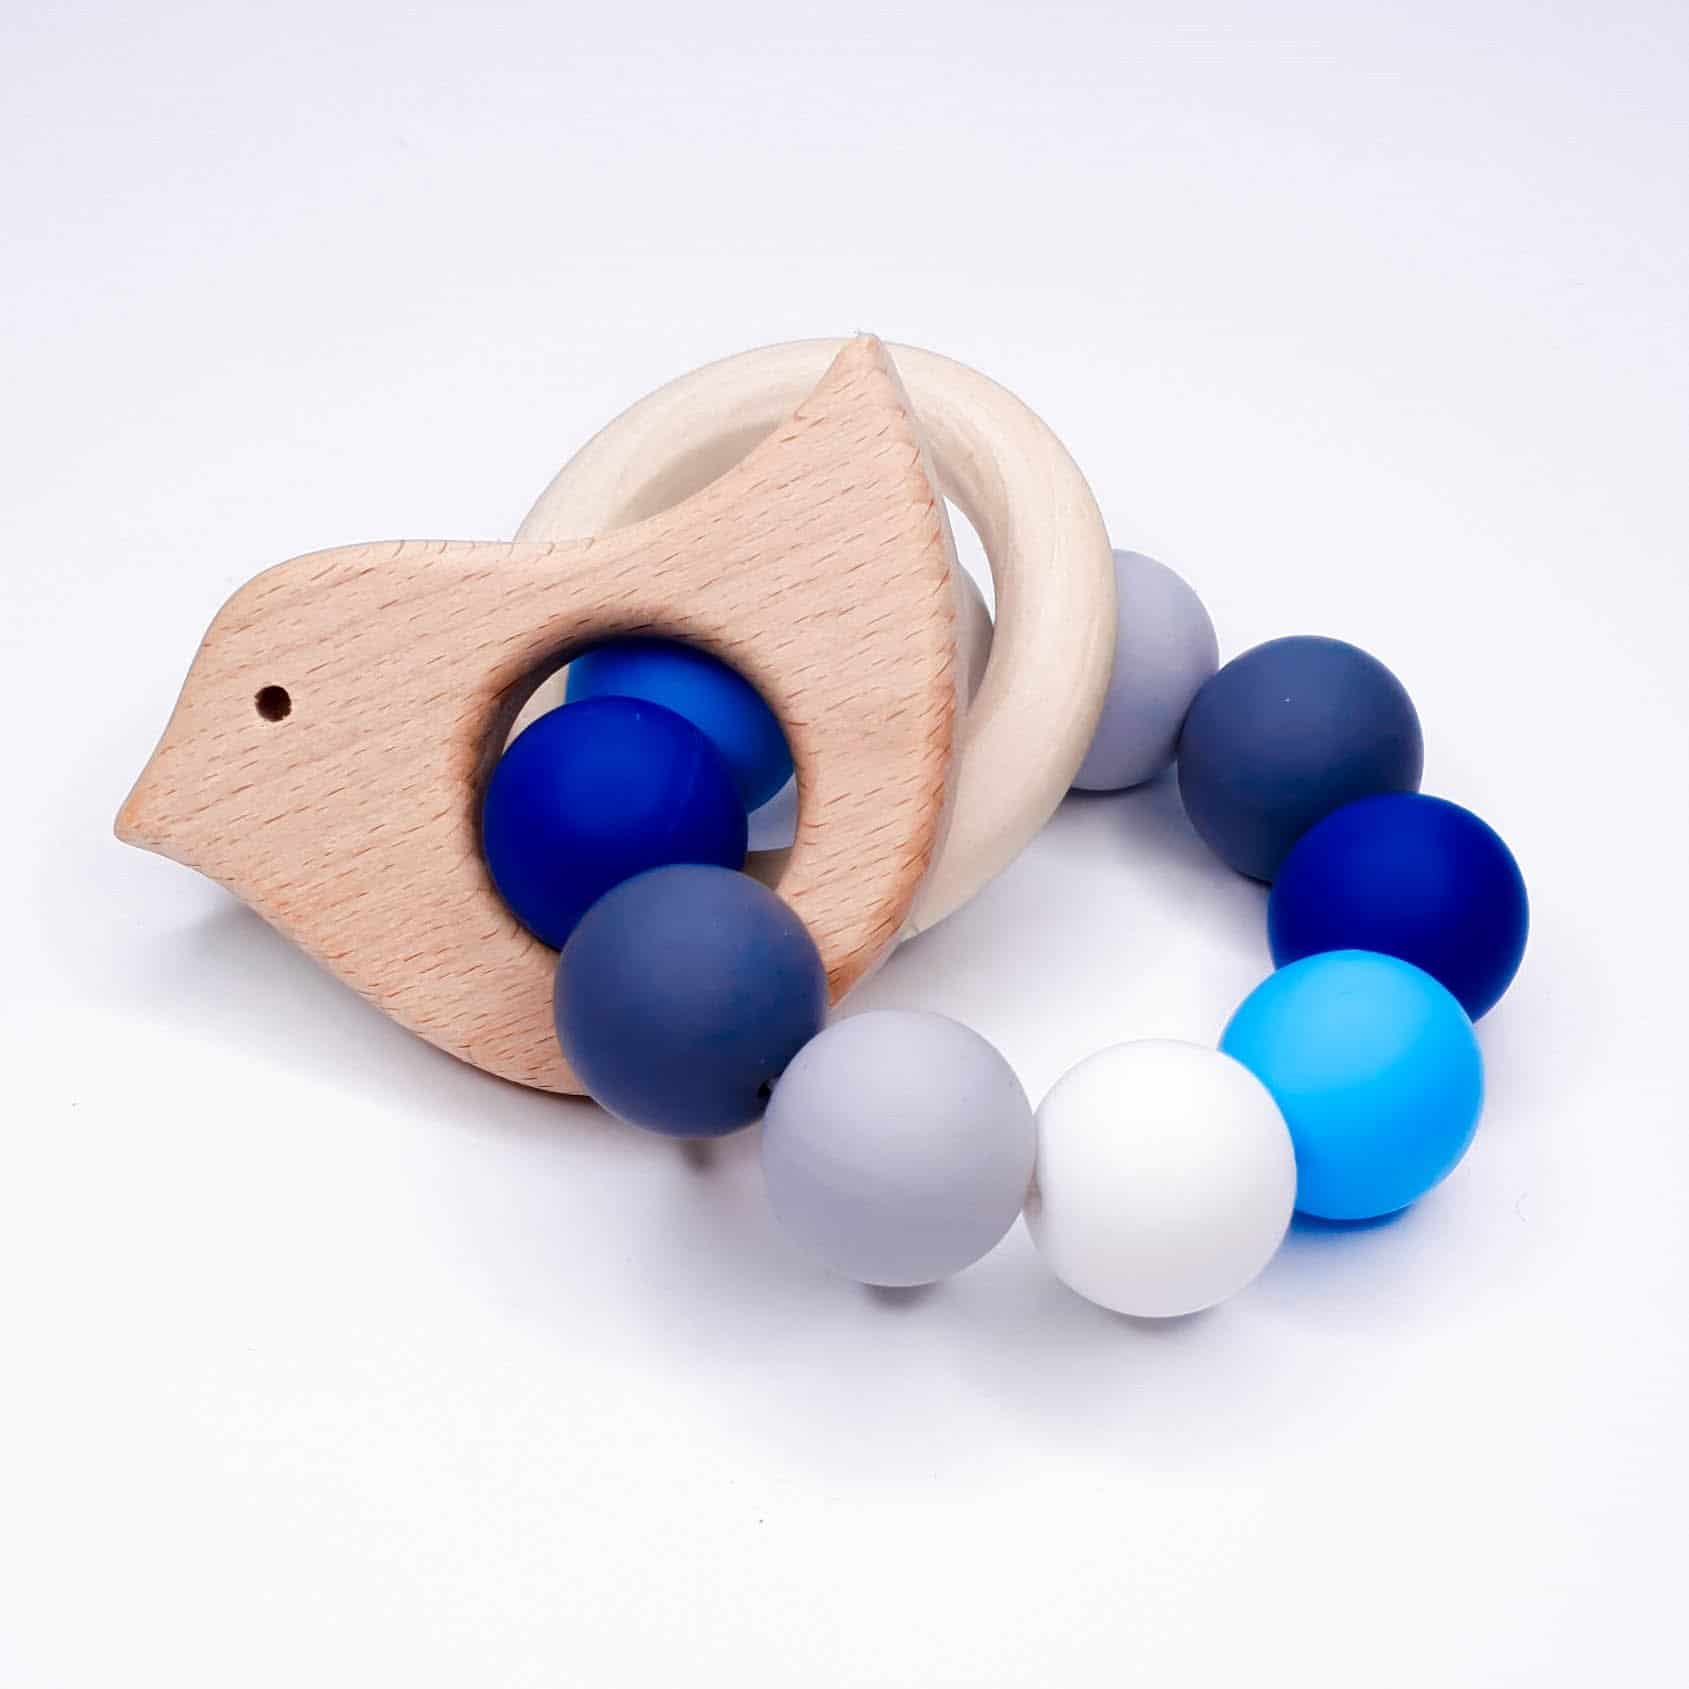
Teething ring Make – DIY manual

Amber Winsveen
Jootjes Crochet Gifts
Print version available here in PDF:
Teething ring Make – DIY Manual
Introduction
At Jootjes Haakcadeautjes jij’re in the right place to make your own Baby teething toy. The guide below provides the instructions jij need to create your own teething ring. The guide describes a very simple teething ring, but jij can of course vary it in many ways. As a wholesale supplier of Baby teething‑toy materials we also offer, through our webshop, all the supplies needed to make this teething ring. All our materials are completely Baby‑safe, 100 % free of toxic substances and fully compliant with European regulations. We have been the market leader in Baby teething‑toy materials for a long time. Browse our webshop or our blog, or follow us on Facebook, Instagram or Pinterest for much more inspiration. Here jij’ll find many examples of teething rings, inspiration for other kinds of Baby teething toys and color combinations.
Supplies:
- Silicone or Beech Wood Beads fully customizable to your liking. See below for more Information.
- Satin cord of at least 1.5 mm thickness. We recommend 2 mm. Length 1 Count.
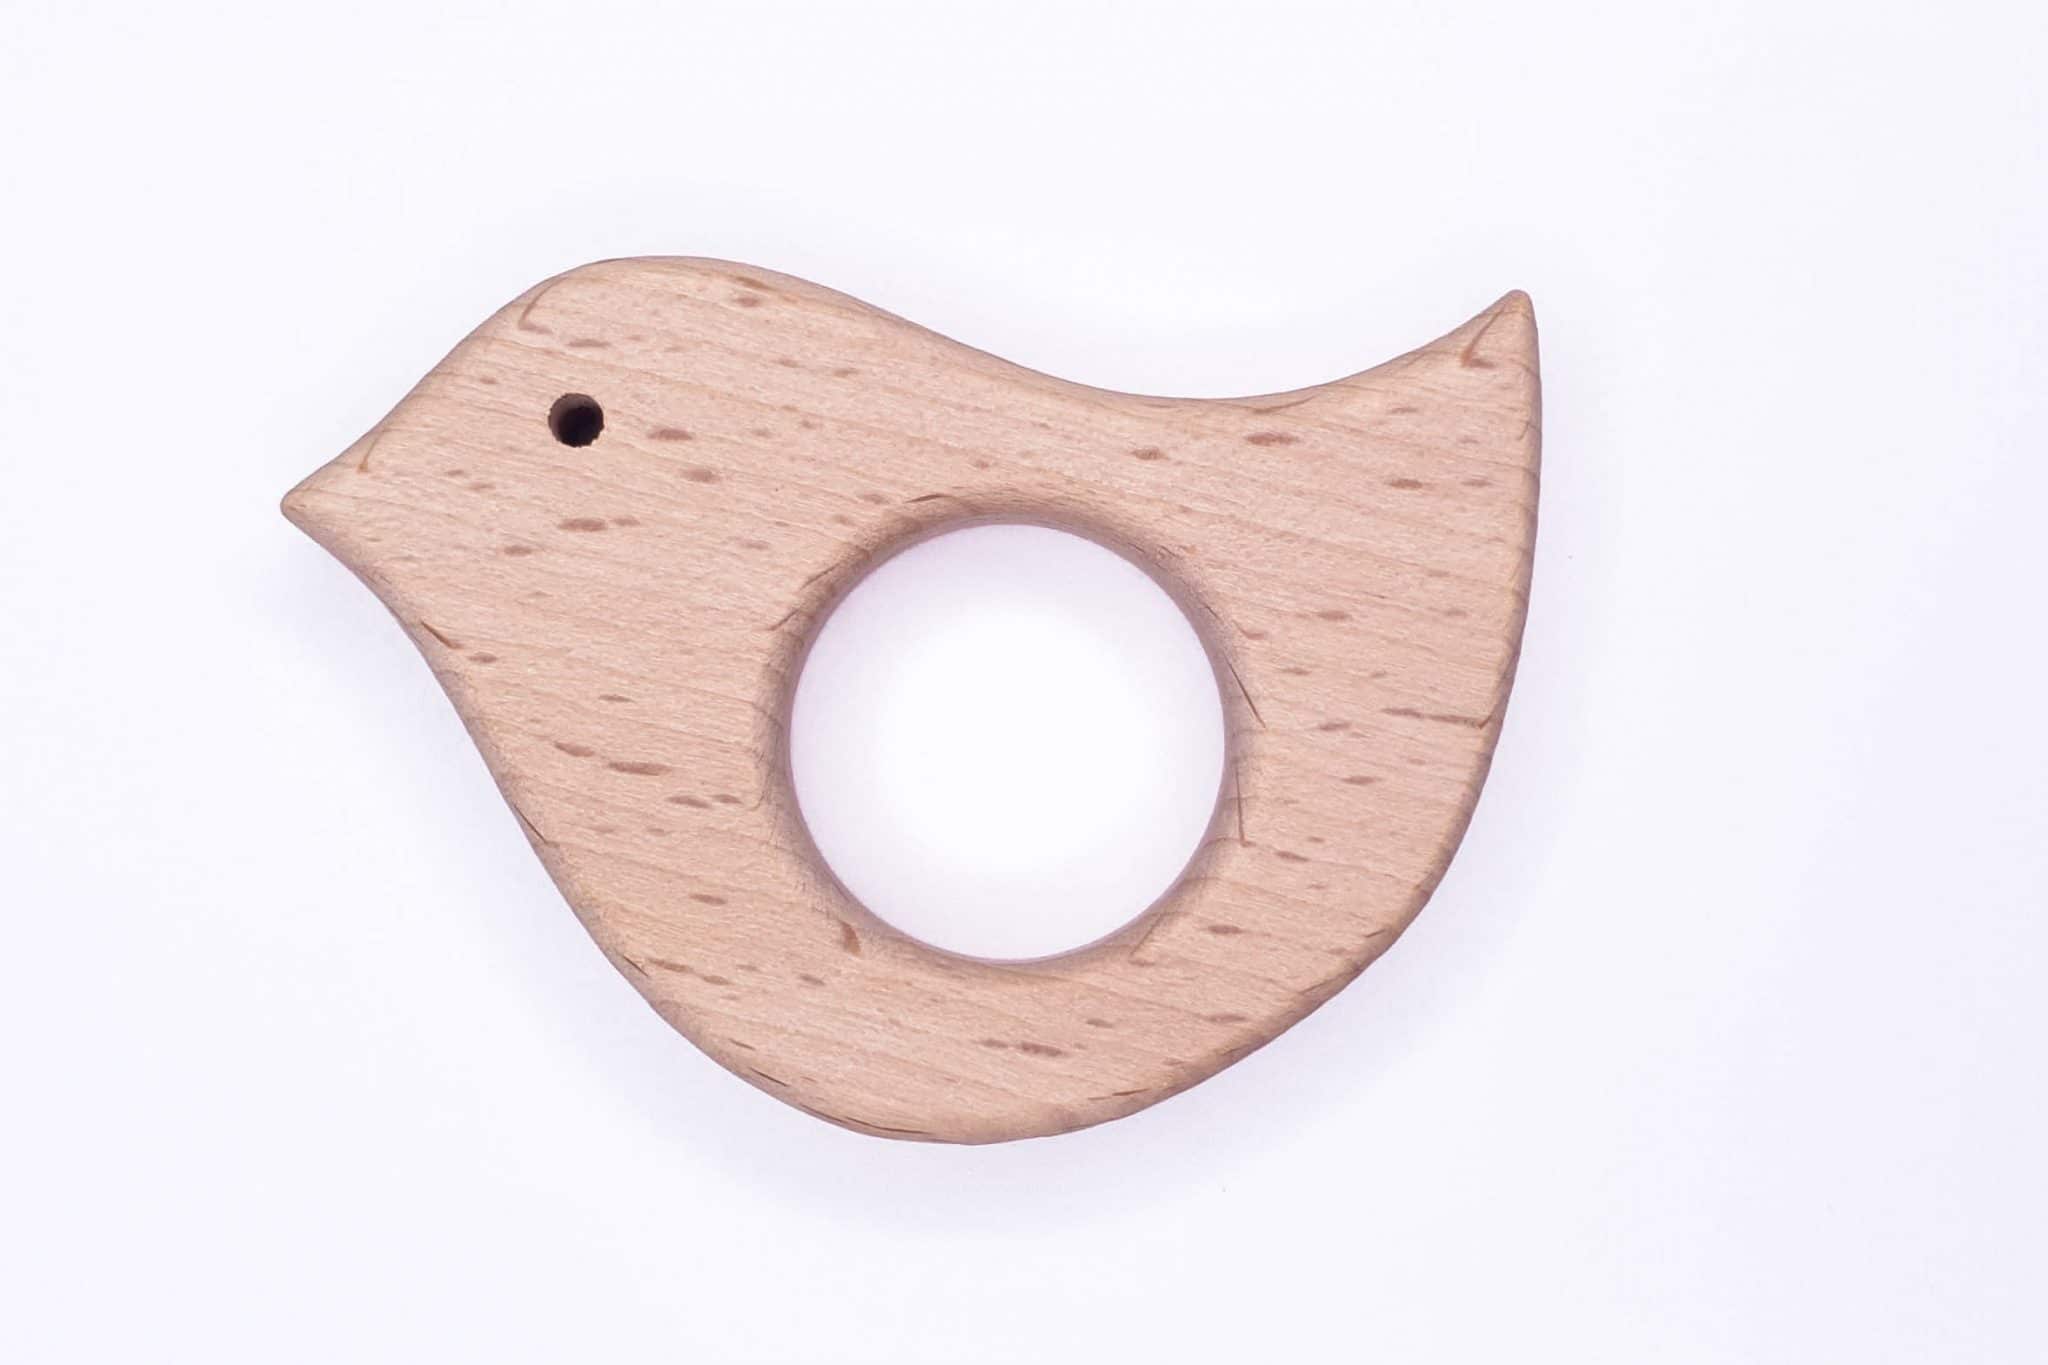
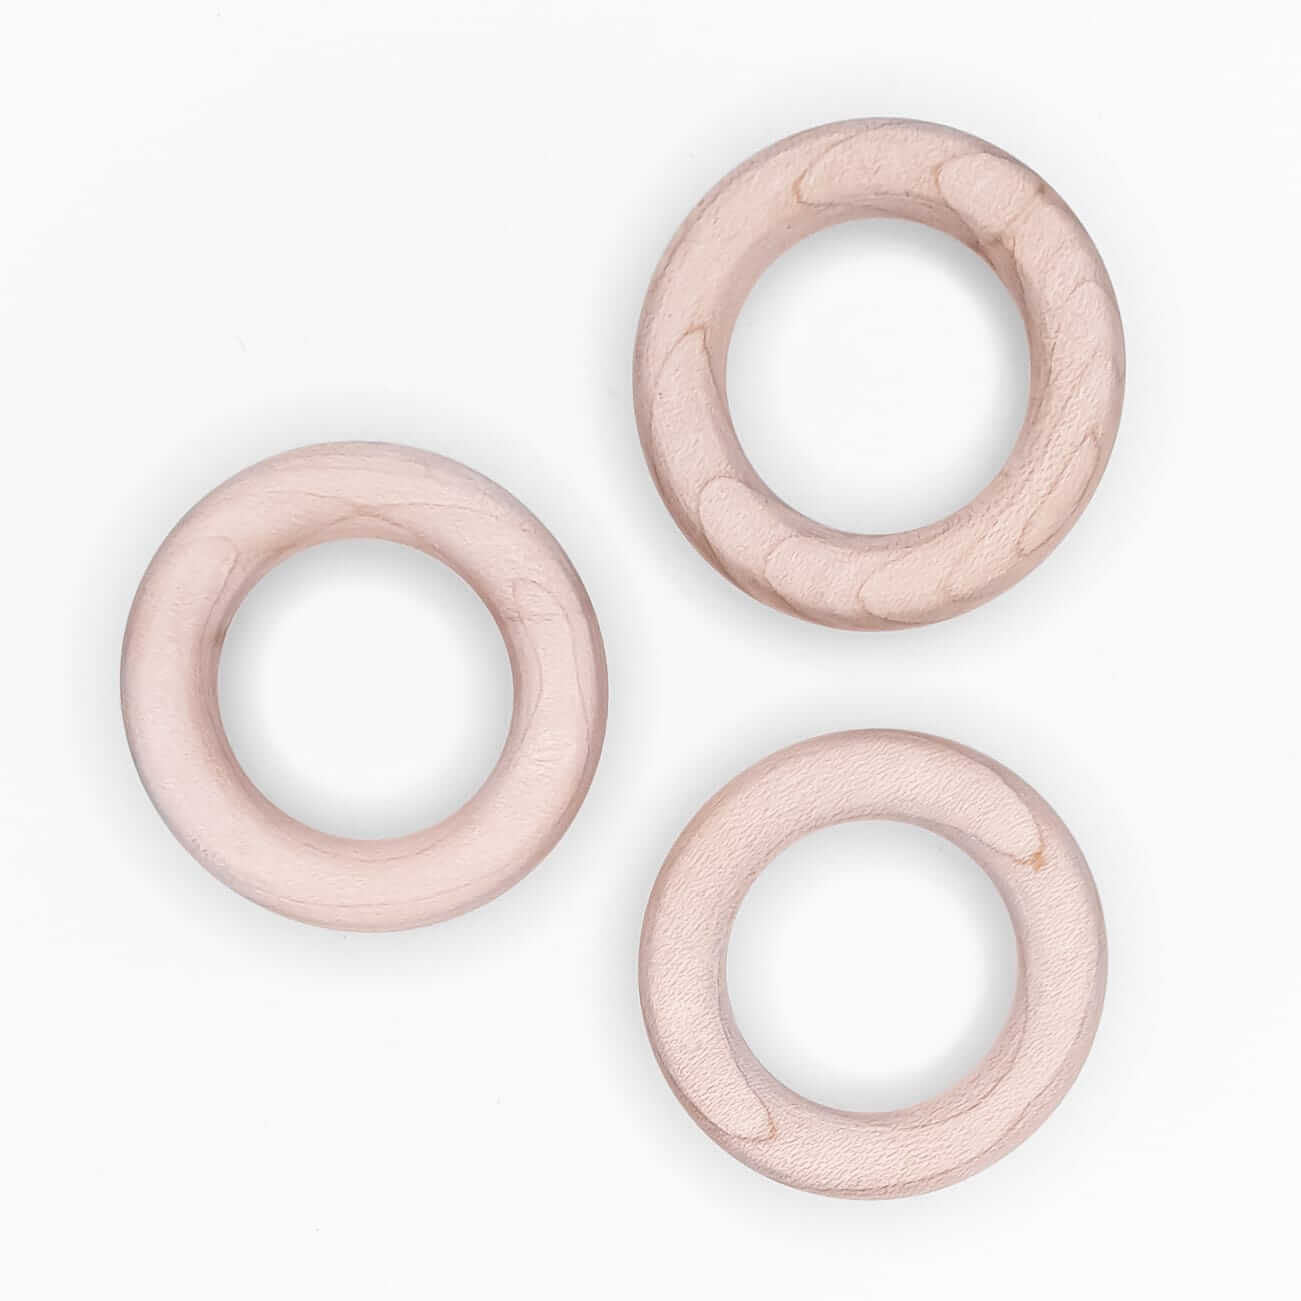
- 1 of 2 beech wood of silicone rings / figures
- 1 Slim bluntBeading needle
- A Combination pliers.
How much Beads are is needed for the Make of a Teething ring?
There isn’t just one way to make a teething ring. By the time jij’re reading this guide, jij’ve probably already come across all sorts of cool teething rings. There are so many beautiful creations to discover. That’s perfect for inspiration.
If jij don’t yet have a good idea of what jij’d like to make, or would like a guideline to start from, we generally use the following:
- 10 beads of 20 mm or about 12 beads of 16 mm. In total this gives a length of approximately 20 cm (all beads in a row). If jij replace something with a different shape or size, try to keep this.
- We usually don’t use 12 mm for a teething ring. With a teething ring we assume it will be bitten on a lot. In that case we prefer a Bead with a bit more volume.
- A 20 mm Bead gives, in my opinion, the Best effect but is a bit heavier to use. If jij give a teething ring as a Baby gift to a newborn, we recommend the 16 mm beads (because the teething ring stays lighter). For little ones with emerging teeth, the 20 mm beads are perfect for a teething ring.
All above materials Are available on Our webshop!

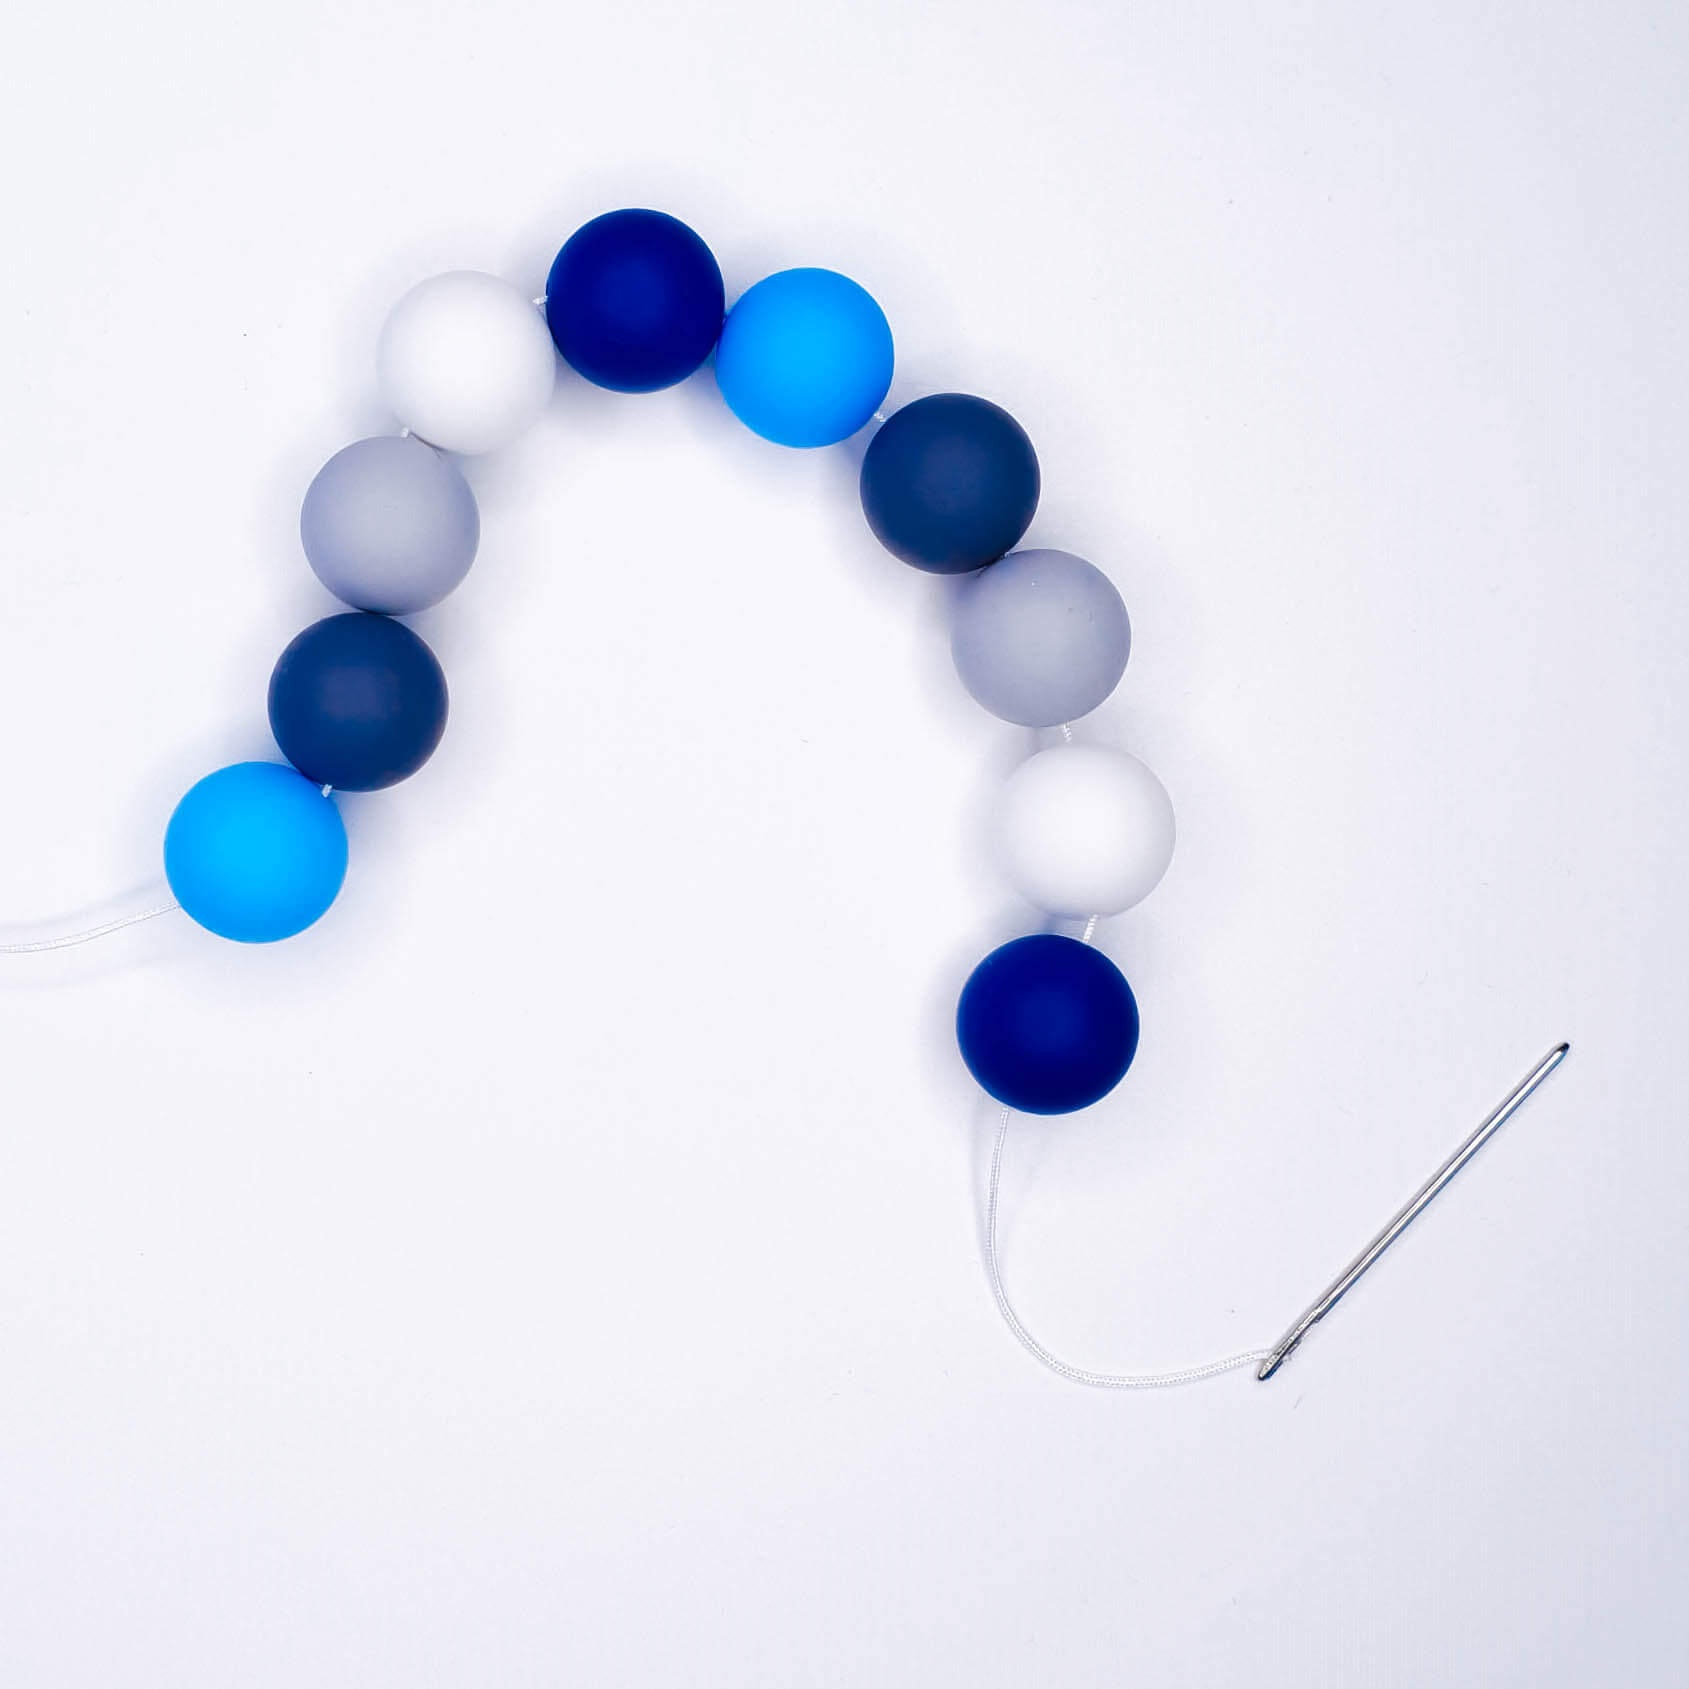
Step 1: Threading a Teething ring
Take the 1‑count piece of satin cord. Thread one end through the eye of the blunt needle and string the selected beads onto the thread in the desired order. Then, as desired, string charms or rings over the beads. Remove the needle from the satin cord.
Step 2: Tying the Teething ring
Additional explanation: In this step the benefit of the 1‑metre length of satin cord becomes clear. We often get the question, “I always have a piece left over, can it be shorter?” When making a teething ring jij want to be able to tie several knots to ensure good sturdiness. Jij simply need a sufficient length to pull the knots tight with enough force. Don’t be afraid to tighten the knots—use all the force jij have. Satin cord doesn’t break during construction, which is why we use it, so take advantage of that. If the ends are too short jij can’t tie good knots, making a little extra length essential.
Tying the Teething ring yourself:
1. Take the two ends of the satin cord and tie a double flat knot (left end over the right end). With a double flat knot jij wrap twice. This creates an extra turn that ultimately gives the knot extra grip. Pull it tight. The beaded strand now forms a loop. Pull the loop closed firmly and tighten the knot securely.
2. The knot is not yet finished. In the same way, lay a second knot onto the first knot. Here jij wrap the right end over the left. The wraps then run in opposite directions, giving extra grip. This method of knotting is also called a surgical knot because it is used by doctors*
*Originally I never started out in teething toys. I graduated and work as a doctor. For the creation of Jootjes Haakcadeautjes I often jokingly say it went from attaching to crocheting and making. My background is also very useful for assessing the Baby safety of the offered materials.
Step 3: Securing the Teething ring
After the first time tying knots (step 2) jij have a nice round ring. On one side of this ring there is now a knot with the two ends of the satin cord. Take one of these ends and thread it back onto the beading needle. Jij will thread this end back in. Do this by inserting it into the hole of the adjacent Bead, to the left or right of the knot. Jij essentially retrace the path the cord already followed in the first round. After jij have pushed the first Bead back in, pullthe tied knot to the side in the Bead so that This is no longer visible.String further backuntil jij have arrived precisely at the opposite side of the teething ring; directly opposite the knot. The teething ring in our example has 10 beads of 20 mm. After inserting 5 beads jij are therefore halfway.
Re‑threading can sometimes be a bit harder because there is already a cord inside the beads. That’s why we always use a combination pliers when making a teething ring. With it we grip the needle and pull it through. This provides much more grip and control over the needle and helps when applying force. Using a combination pliers eventually causes wear on the needle. But we always say good tools should be used properly, and safety and good construction of a teething ring are number one. That’s why at Jootjes Haakcadeautjes we offer very sturdy yet very affordable beading needles in case jij Ever need to replace your beading needle.
Then thread the other end through the beads back in the opposite direction. If jij went clockwise with the first end, now go counter‑clockwise until jij reach the side opposite the first knot again. Thus the ends meet again on the other side of the teething ring. Here also tie a double knot in the same way as described in step 2.
Step 4: Tying off the Teething ring
Jij now have a knot on both sides of the teething ring. We consider the teething ring very reliable when the knots are tightened well and firmly. We are now going to take care of the threads.
Attach one end to the Beading needle. For this part, jij will also need the Combination pliers.It doesn’t matter which cord thickness jij have chosen. Jij have to go through an existing Bead again, and it is already quite filled with the cord.Threadto the left or to the right through the adjacent Bead.Do the same with the second end (through the same adjacent Bead).Then pull the last knot through a Bead as well. Make sure your previous knot doesn’t come out again. Sometimes jij have to pull just a little further. Then I thread both ends another Bead further (jij are then a total of 2 beads from the last knot).
The remaining ends are now sticking out. Jij can now trim the ends. Cut the ends as close to the Bead as possible.
Naturally, it is also possible to first tie additional securing knots as jij wish, as many times as jij like, and then still finish off afterwards. In our view, this is not necessary for a sturdy teething ring. It can also lead to a slightly stiffer teething ring or make it harder to neatly hide the knots. Of course, this can also be adjusted to your own preference. The ultimate goal is that your creation is Baby‑safe.
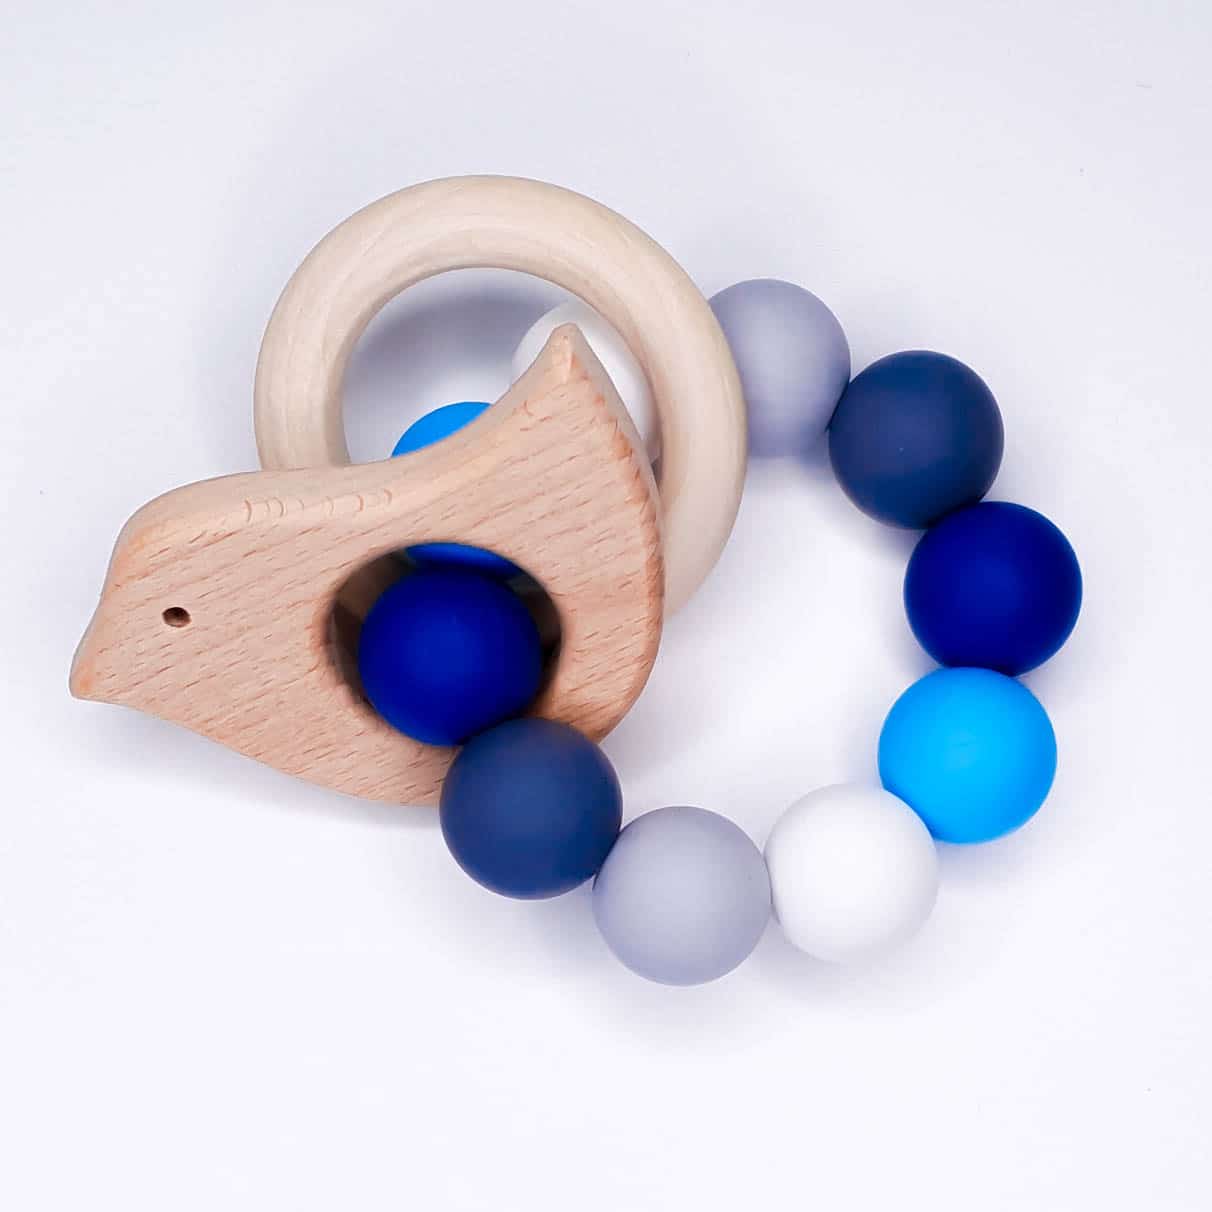
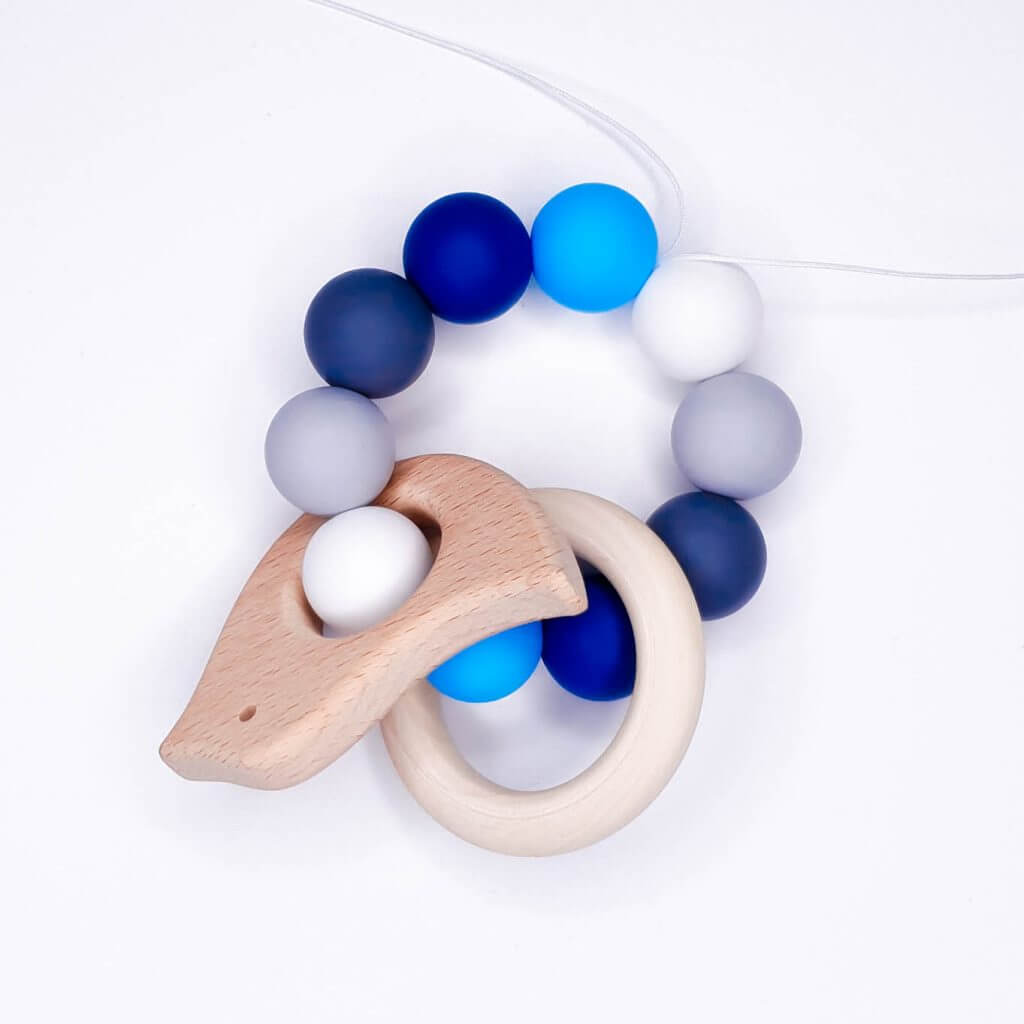
The Teething ring is now complete!! ❤ Enjoy your final creation!
Love,
Team Jootjes
DISCLAIMER: In this guide, the teething ring is made from satin cord and is therefore very durable. Satin cord is very sturdy due to the way it is produced (weaving/textile processing) and provides a lot of grip/friction on the knots. These knots therefore do not come loose easily when tightened tightly. However, wear is always possible with any product jij use; that is simply a fact.
Jootjes Haakcadeautjes does not produce the teething ring itself and can never be held liable for potential damage caused by loose teething rings. We present a method for making the teething rings that, in our view, is a very reliable method. Production and use of a teething ring, however, is always at your own responsibility. Jootjes Haakcadeautjes can never be held responsible for damage resulting from the use of a teething ring produced based on this manual. In any case, our advice is strict. Always use teething toys only under the supervision of a responsible adult!
COPYRIGHT: Jootjes Haakcadeautjes, all patterns and instructions from Jootjes Haakcadeautjes may only be released by Jootjes Haakcadeautjes. The patterns and instructions are for personal use and may not be used for commercial purposes. This guide may not be translated or published on your own site, but sharing a link to the guide is of course allowed provided it includes source attribution and a correct reference!
Print version available here in PDF:
Teething ring Make – DIY Manual
If jij have questions about this blog or about our products, send us an email, contact us via WhatsApp, call us or send us a message on social media. Jij can also click below to see our contact details: