

Amber Winsveen
Jootjes Silicone Beads
Print version available here in PDF:
Teething ring Make – DIY Manual
Introduction
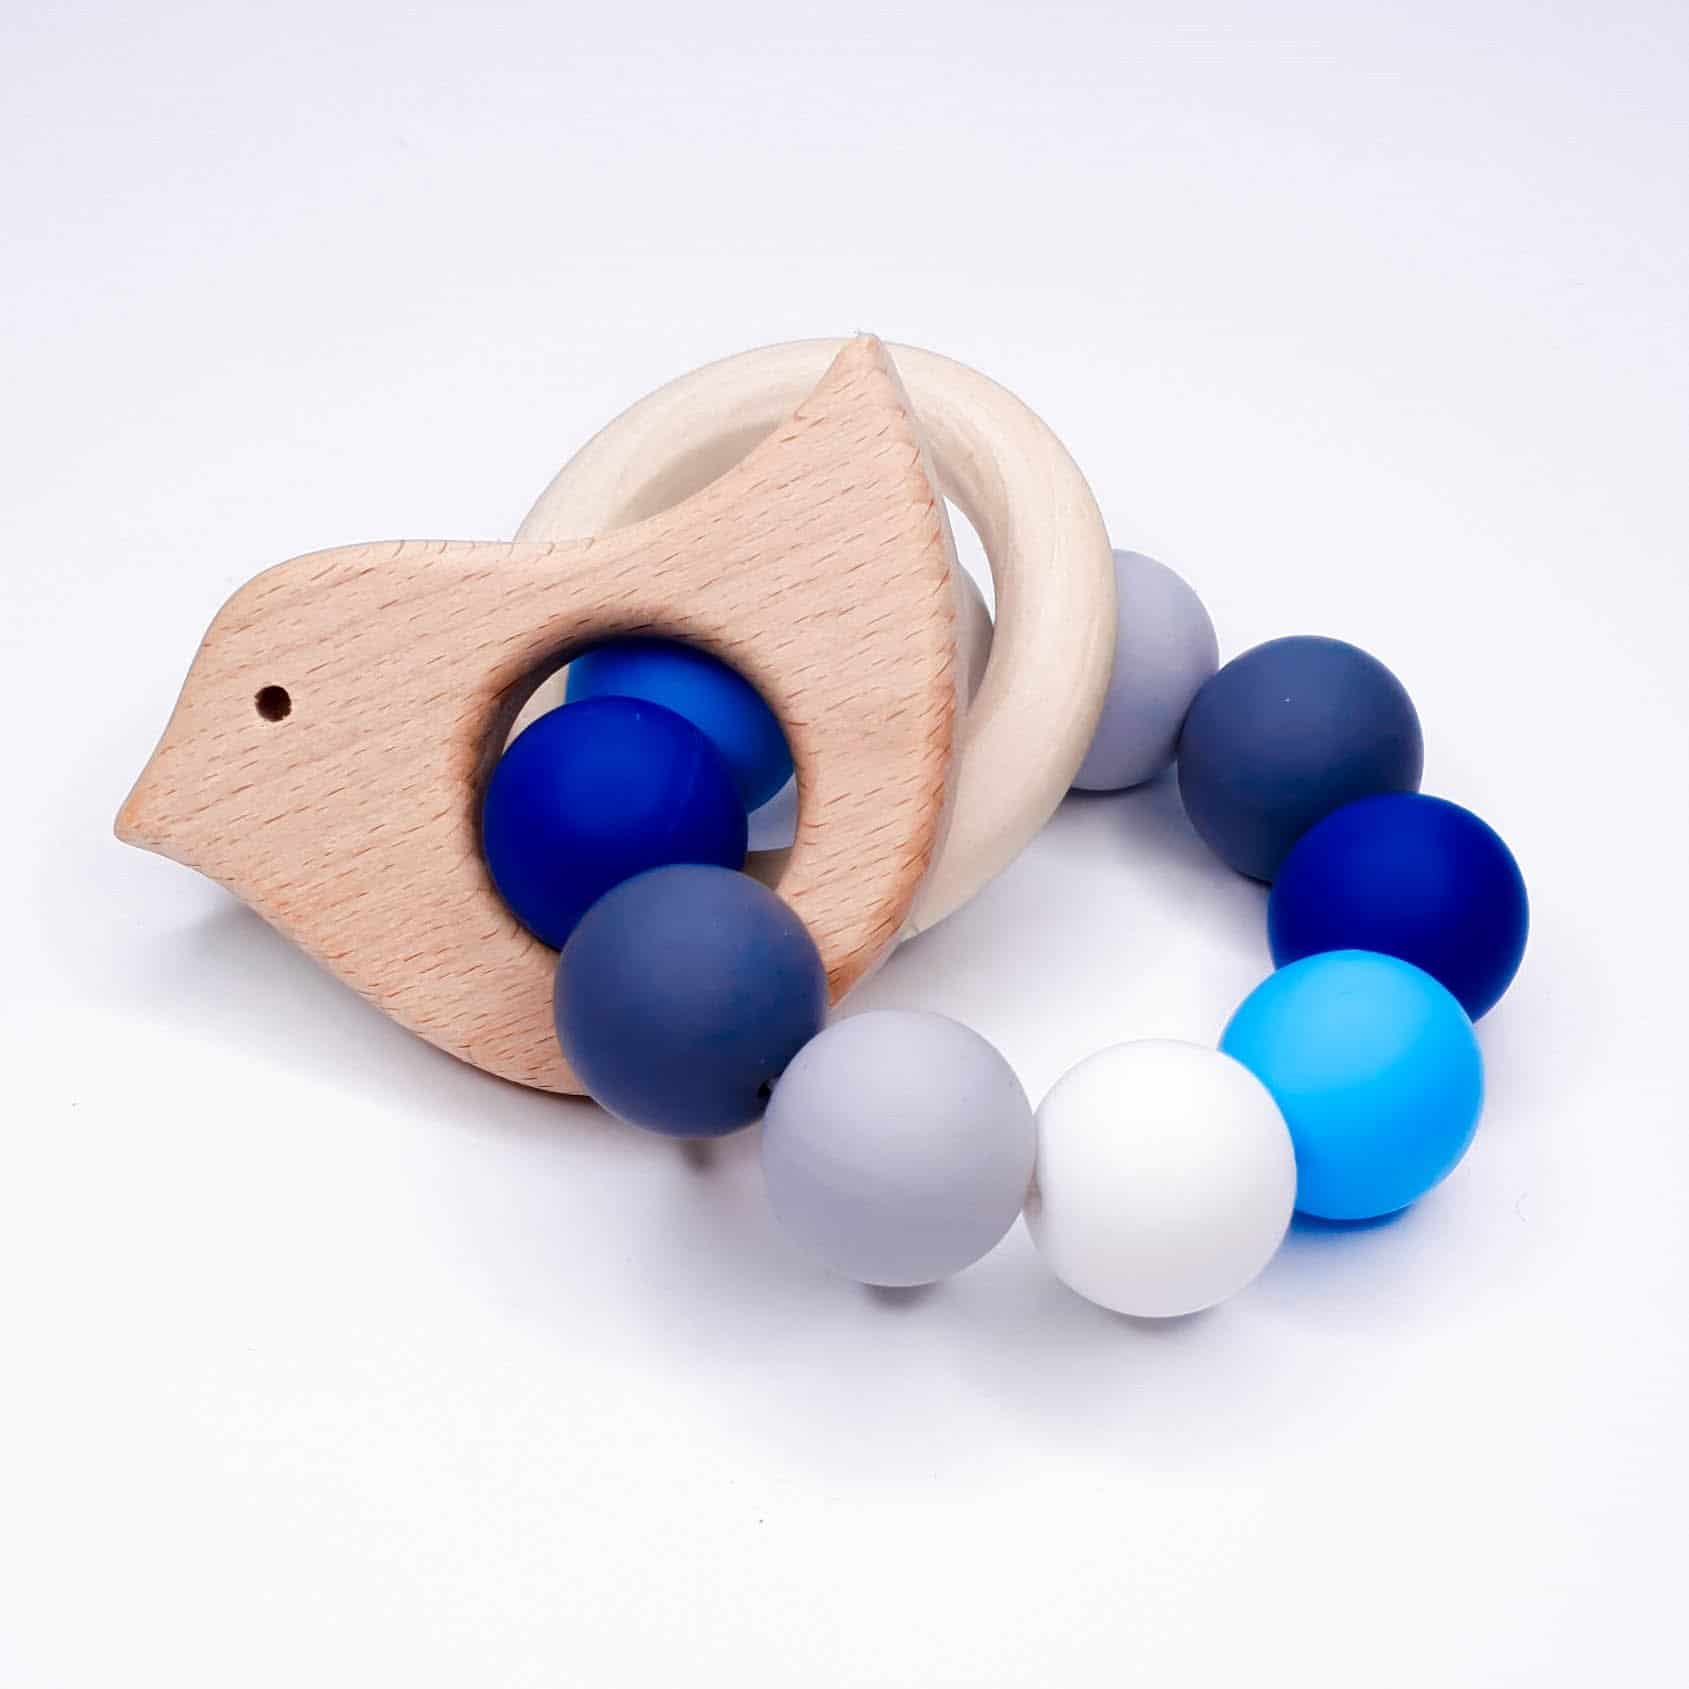
At Jootjes Haakcadeautjes you’re in the right place to make your own baby teething toys. The guide below provides the instructions you need to make your own teething ring. It’s a very simple teething ring, but you can of course vary it in many ways. As a wholesaler of baby teething‑toy materials, we also supply you via our webshop with all the supplies needed to make this teething ring. All our materials are completely baby‑safe, 100 % free of toxic substances and fully compliant with European guidelines. We have been the market leader in baby teething‑toy materials for a long time. Take a look around our webshop or on our blog, or follow us on Facebook, Instagram or Pinterest for lots of inspiration. Here you’ll find many examples of teething rings, inspiration for other types of baby teething toys and colour combinations.
Supplies:
- Silicone or Beechwood Beads fully customizable to your liking. See below for more Information.
- Satin cord from a minimum thickness of 2 mm. Length 1 Metre.
- 1 of 2 beechwood of silicone rings / figures
- 1 Slim bluntthreading needle
- A Combination pliers.
How many Beads are needed for the Make of a Teething ring?
There is not just one way to make a teething ring. By the time you are reading this manual, you have probably already come across all kinds of cool teething rings. There are so many Beautiful creations to be found. That is perfect for inspiration.
If you don’t yet have a clear idea of what you would like to make, or if you would like a guideline to start from, we generally use the following:
- 10 beads of 20 mm or about 12 beads of 16 mm. In total that gives a length of approximately 20 cm (all beads placed end to end). If you replace something with a mould or a different size, try to keep this.
- We usually don’t use 12 mm for a teething ring. With a teething ring we assume there will be a lot of biting. Then we prefer a bead with a bit more volume.
- A 20 mm bead, in my opinion, gives the best effect but is a bit heavier to use. If you give a teething ring as a newborn gift, we recommend the 16 mm beads (so the teething ring stays lighter). For little ones with emerging teeth, the 20 mm beads are perfect for a teething ring.
All of the above materials are available on our webshop!
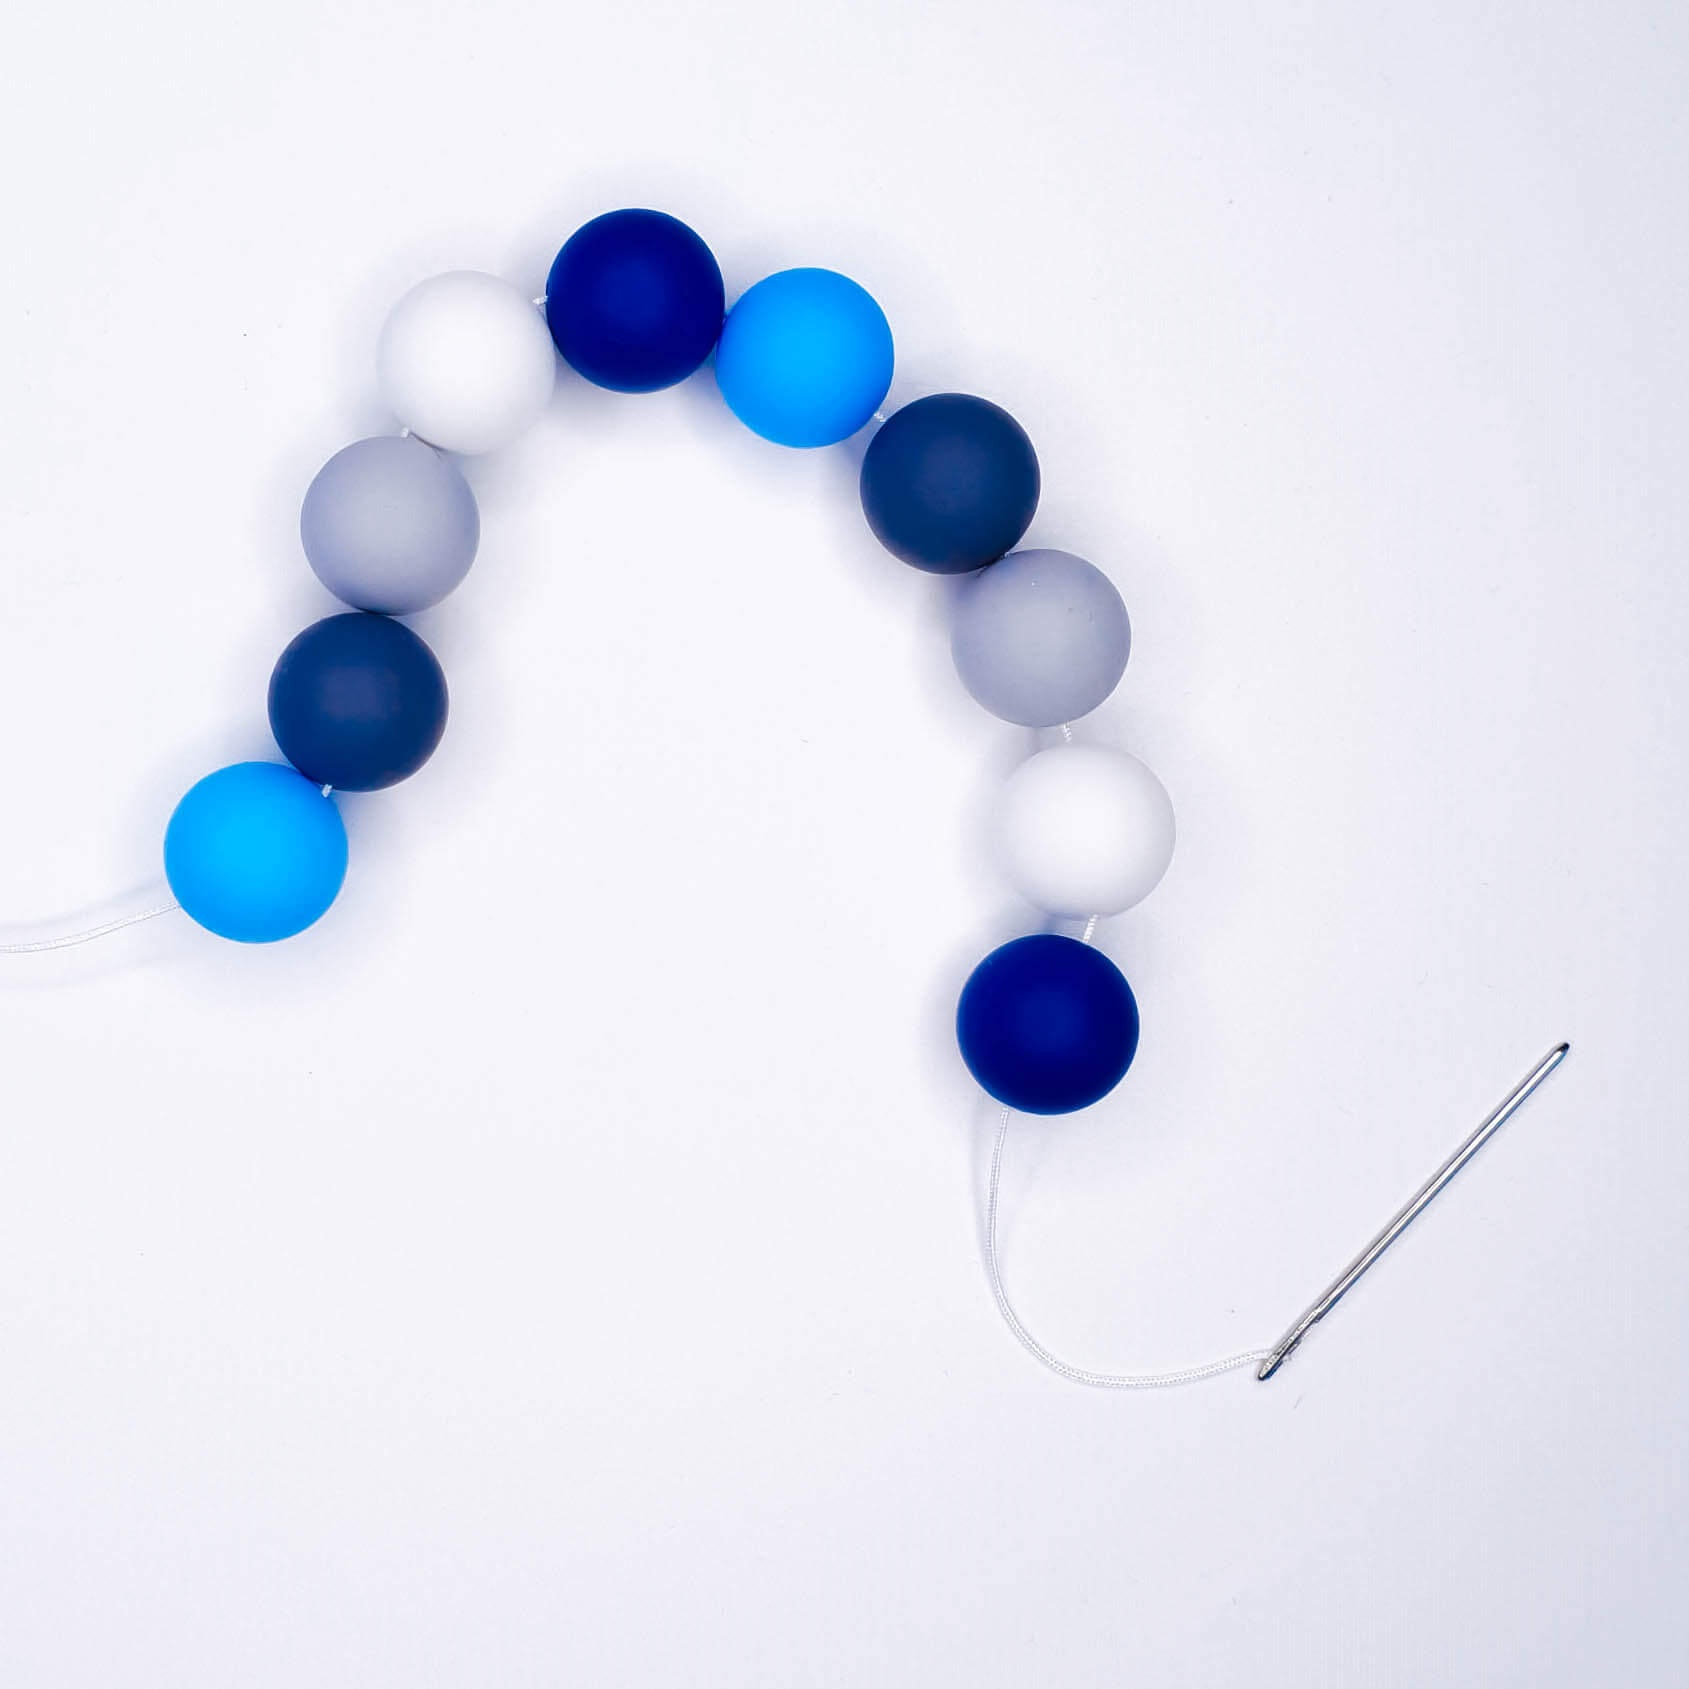
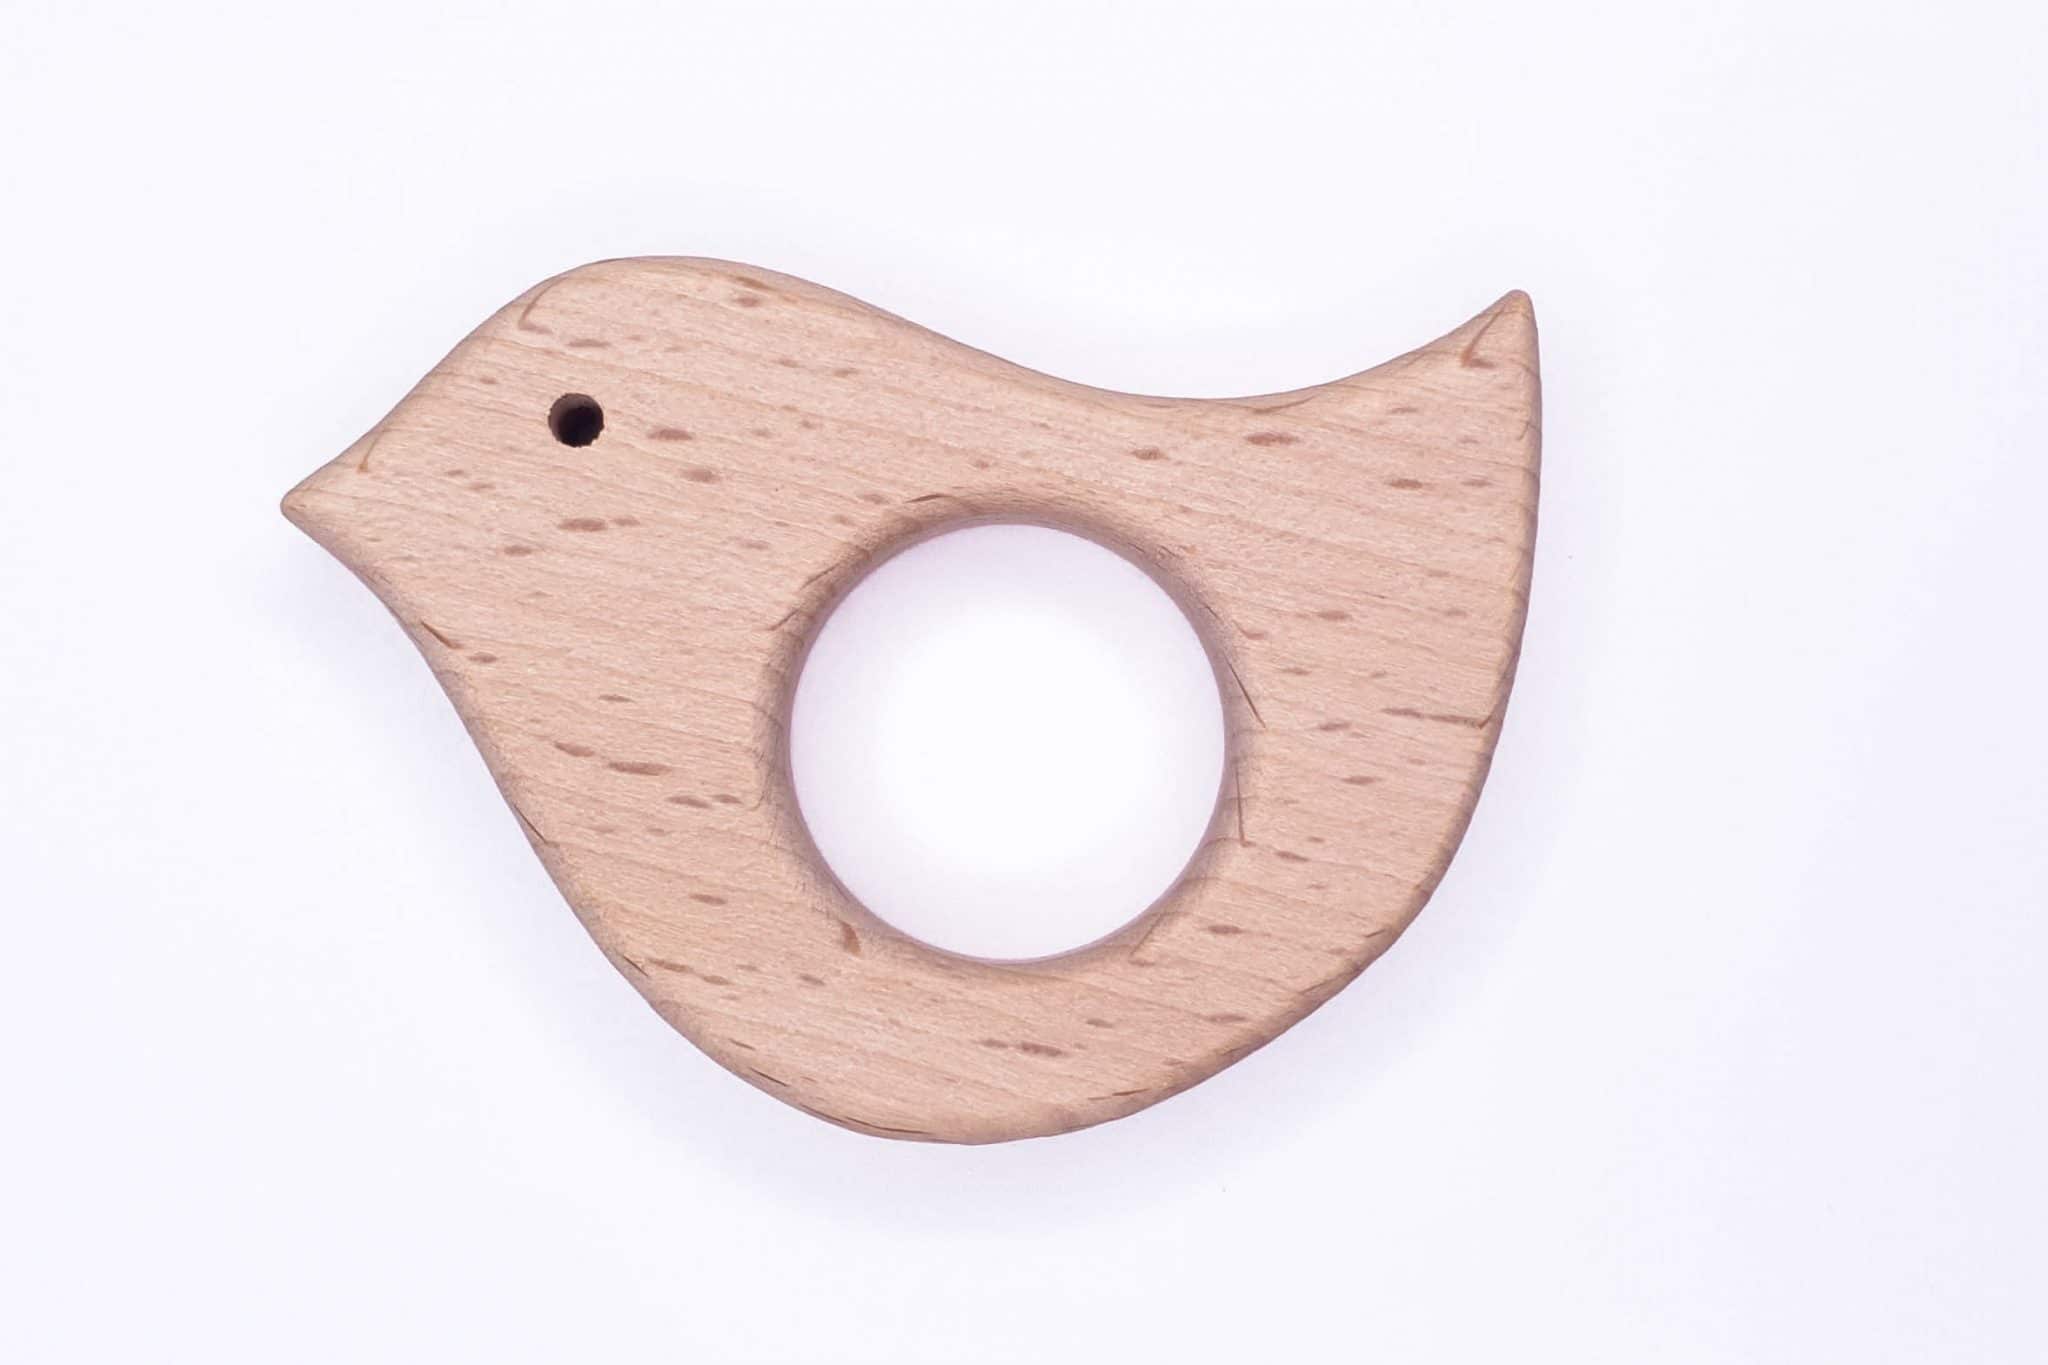
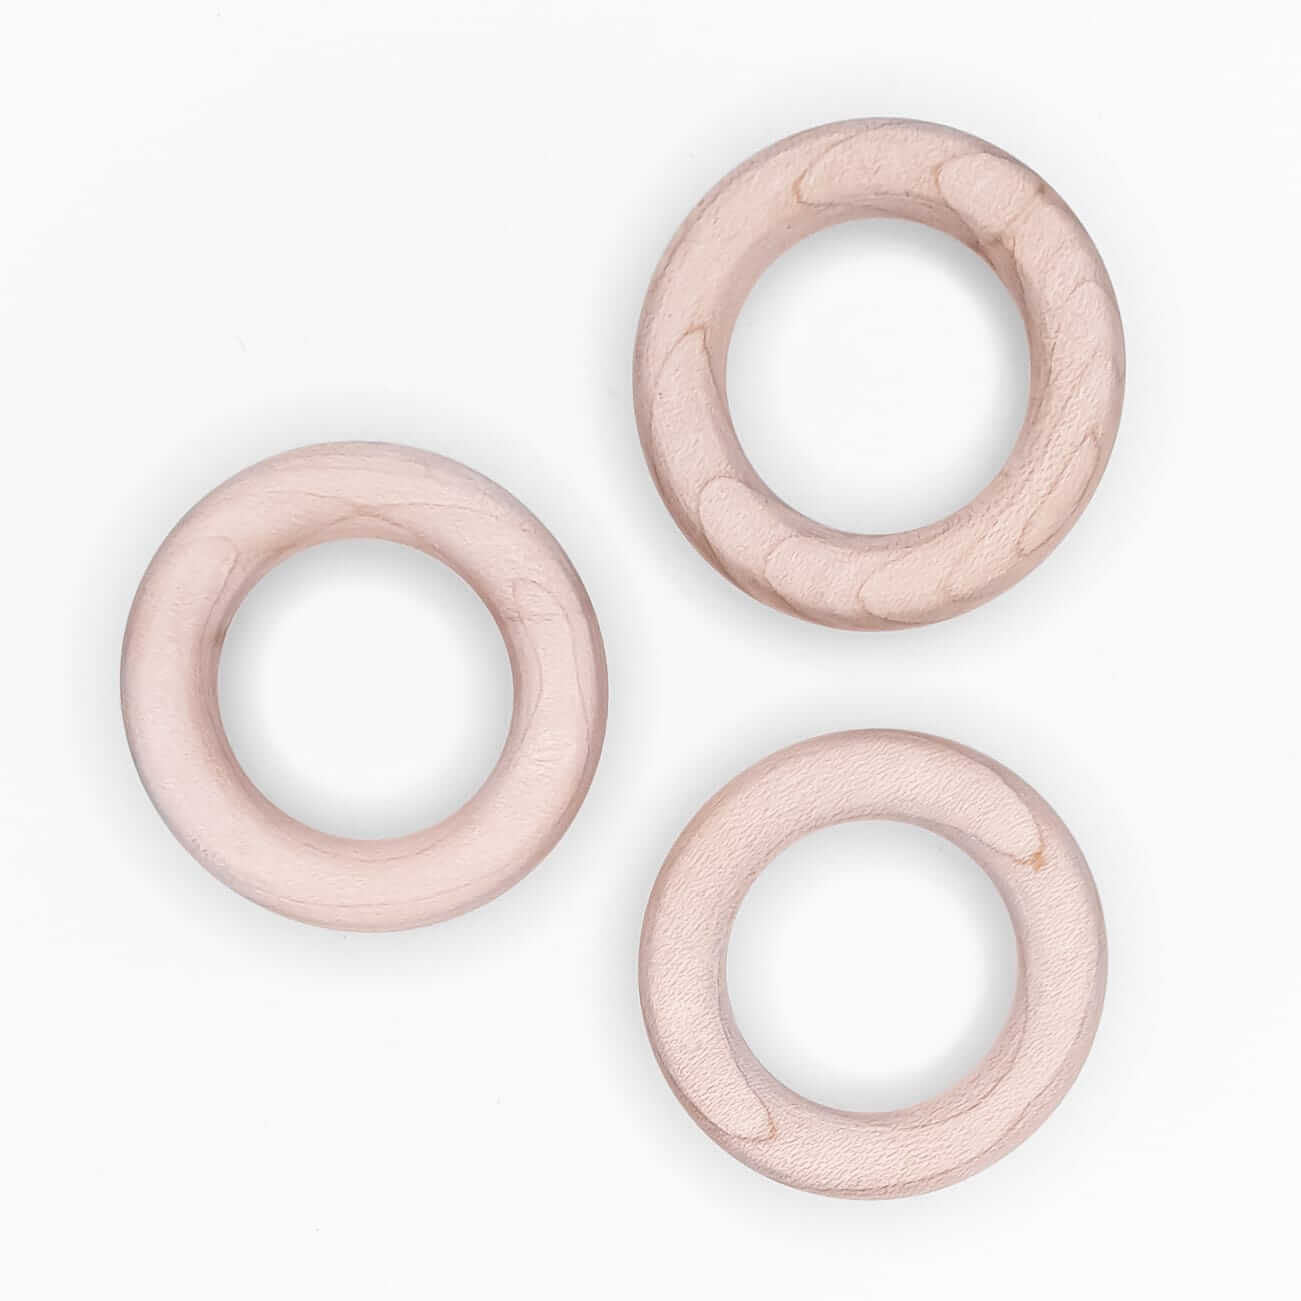
Step 1: Threading a Teething ring
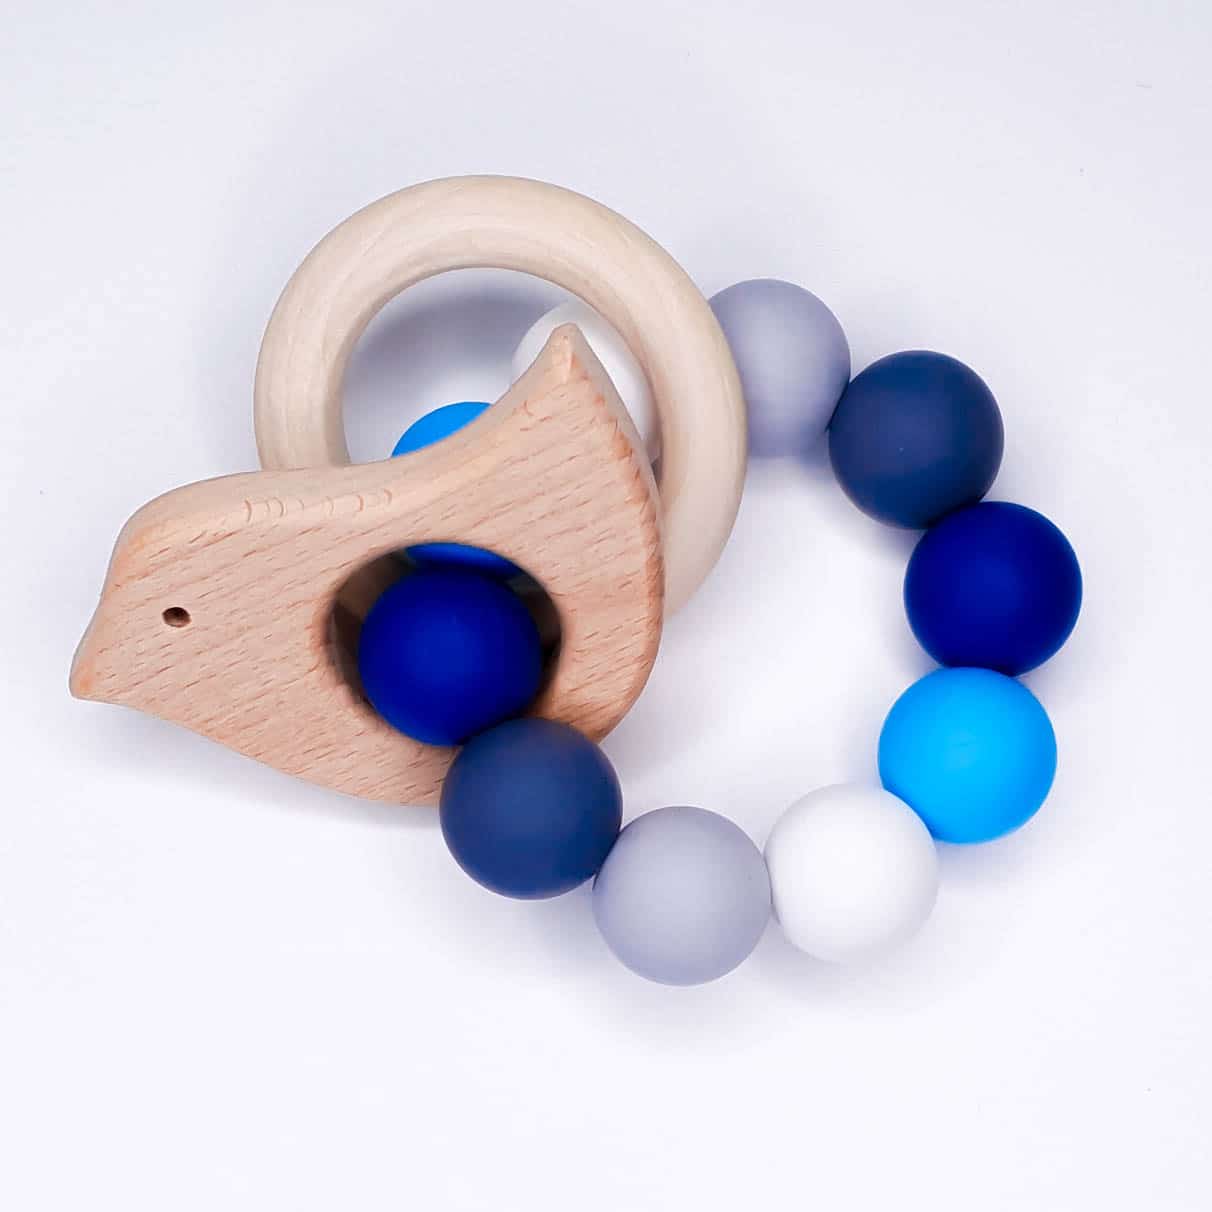
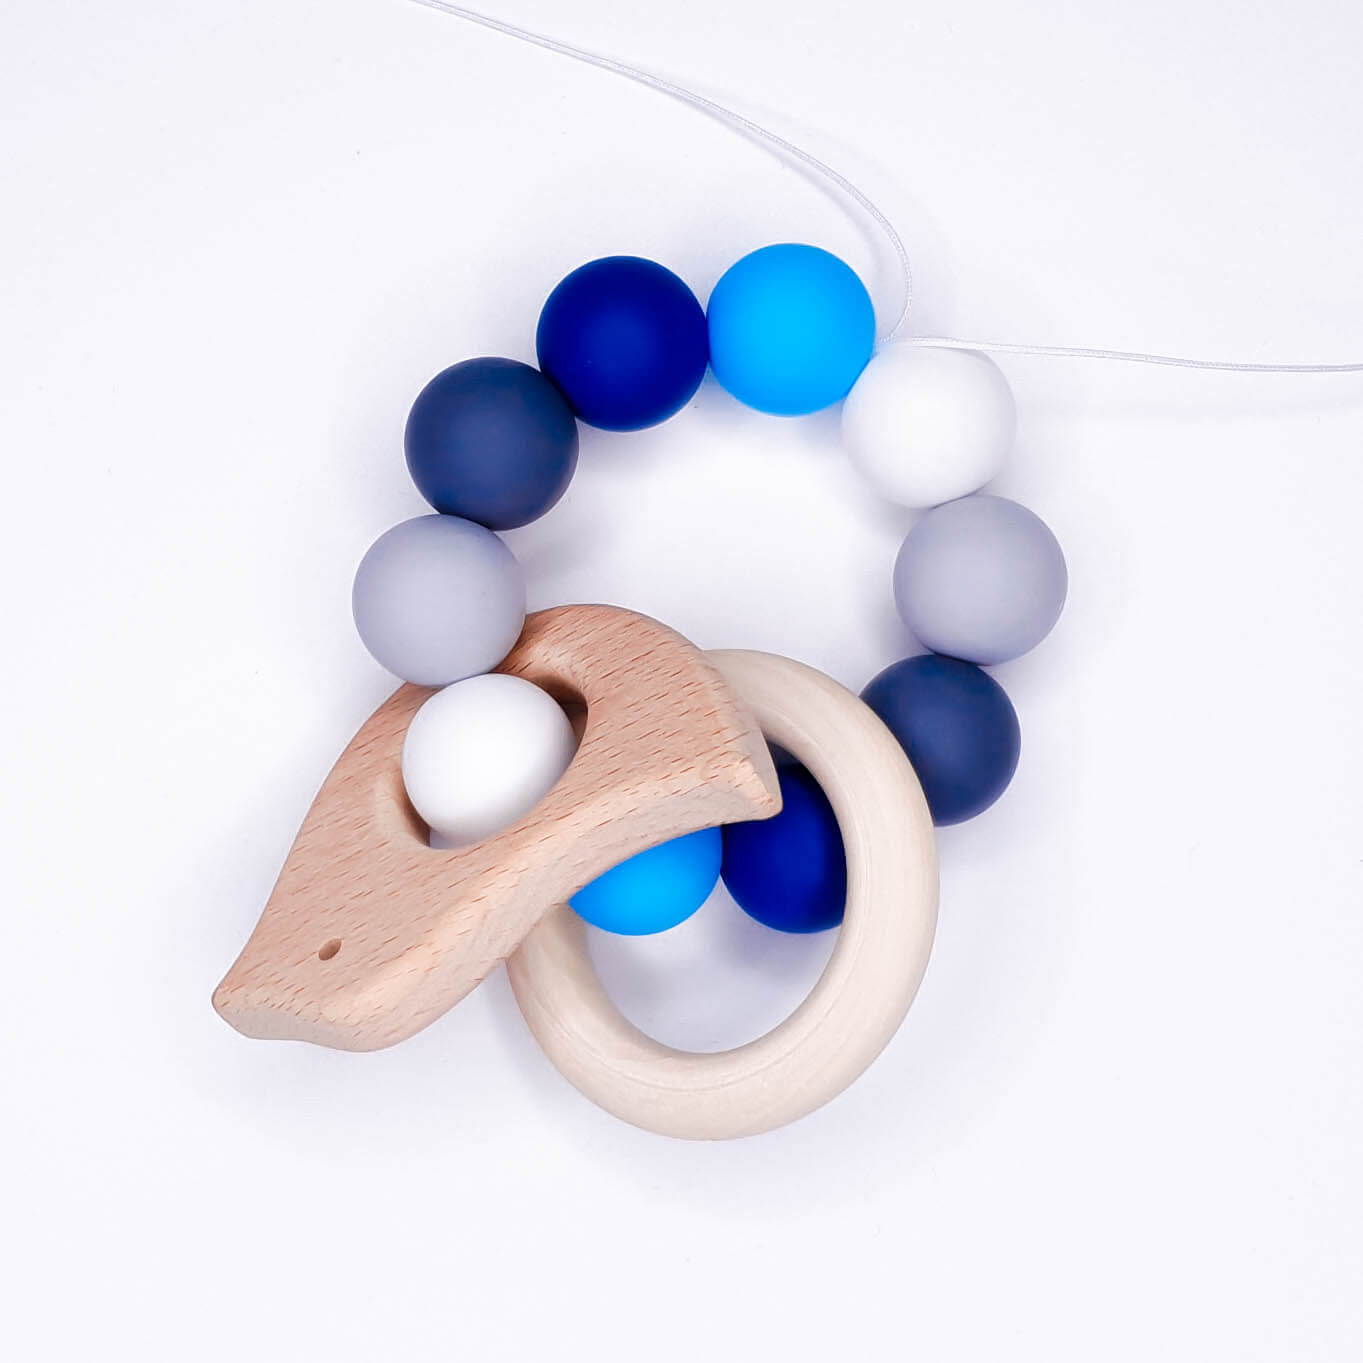
Take a 1‑metre piece of satin cord. Pass one end through the eye of the blunt needle and thread the selected beads onto the cord in the desired order. Then, if you wish, thread charms or rings over the beads. Remove the needle from the satin cord.
Step 2: Tying the Teething ring
Additional explanation: This step highlights the advantage of a 1‑metre length of satin cord. We often get the question, “I always have a piece left over, can it be shorter?” When making a teething ring you want to be able to tie multiple knots to ensure adequate strength. You simply need a sufficient length to tighten the knots with enough force. Don’t be afraid to pull the knots tight; use all the strength you have. Satin cord doesn’t break during construction, which is why we use it—take advantage of that. If the ends are too short you can’t tie good knots. A little extra length is therefore essential.
Tying the Teething ring yourself:
1. Grab the two ends of the satin cord and tie a double flat knot (left end over right end). With a double flat knot you wrap around twice. This creates an extra winding that ultimately provides extra grip for the knot. Pull firmly. The bead strand now forms a ring. Pull this ring tight and pull the knot tight.
2. The knot is not yet finished. In the same way, place a second knot on the first knot. Here, you wrap the right end over the left. The wraps then run in opposite directions, giving extra grip. This method of knotting is also called a surgical knot because it is used by doctors*
*Originally I actually never started in teething toys at all. I graduated and work as a doctor. Regarding the origin of Jootjes Haakcadeautjes I often jokingly say it went from suturing to crocheting and making. My background is therefore very helpful for me in assessing the baby safety of the materials offered.
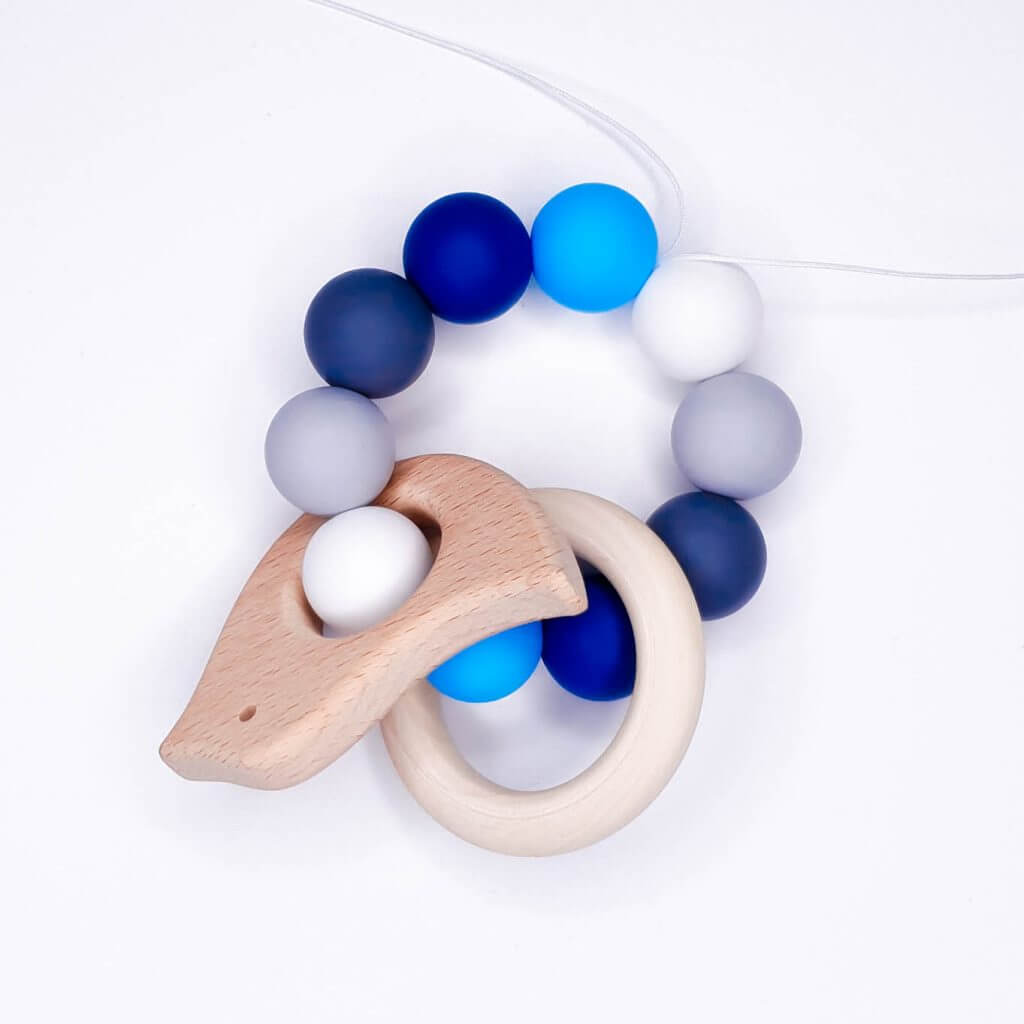
Step 3: Securing the Teething ring
After the first time tying knots (step 2) you have a nice round ring. On one side of this ring there is now a knot with the two ends of satin cord. Take one of these ends and thread it onto the needle again. You will thread this end back by inserting it into the hole of the adjacent bead, left or right of the knot. You essentially retrace the path the cord already took in the first round. After you have pushed the first bead back in, pull itmove the tied knot to the side in the Bead so that it is no longer visible.String further backuntil you have reached exactly the other side of the teething ring; directly opposite the knot. The teething ring in our example has 10 beads, each 20 mm. After inserting 5 beads back, you are halfway there.
Re‑threading can sometimes be a bit tougher because there’s already a cord in the beads. That’s why we always use combination pliers when making a teething ring. With them we grip the needle and pull it through. This gives much more grip and control over the needle and helps apply force. Using combination pliers eventually wears the needle. But we always say good tools should be used properly, and safety and good construction of a teething ring are number one. That’s why at Jootjes Haakcadeautjes we have very sturdy yet very affordable threading needles if you ever need to replace your threading needle.
Then thread the other end back through the beads in the opposite direction. If you went left with the first end, you now go right until you reach the opposite side of the first knot again. This way, the ends come together again on the other side of the teething ring. Here too, tie a double knot in the same way as described in step 2.
Step 4: Tying off the Teething ring
You now have a knot on both sides of the teething ring. We think the teething ring is very reliable this way if you have tightened the knots firmly. We are now going to tie up the loose ends.
Attach one end to the Threading needle. For this part, you will also need the Combination pliers.It doesn’t matter which cord thickness you have chosen. You have to go through an already‑placed bead again, and it is already fairly filled with the cord.Threadto the left or to the right through the adjacent Bead.Do the same with the second end (through the same adjacent Bead).Next, also pull the last knot through a bead. Make sure your previous knot doesn’t come out again. Sometimes you need to pull just a little further. Then I thread both ends one more bead further (you are then a total of 2 beads away from the last knot).
The remaining ends are now sticking out. You can now trim the ends. Cut the ends as close as possible to the bead.
Of course it is also possible to first tie additional securing knots as you wish, as often as you like, and then still finish off. In our opinion this is not necessary for a sturdy teething ring. It can also result in a slightly stiffer teething ring or make the knots harder to hide neatly. Naturally this can also be adjusted to your own preference. The end goal is that your creation is baby‑safe.
The Teething ring is now complete!! ❤ Enjoy your final creation!
Love,
Team Jootjes
DISCLAIMER: The teething ring in this guide is made from satin cord and is therefore very durable. Satin cord is very sturdy due to the way it is produced (weaving/textile processing) and provides a lot of grip at the knots. These knots will therefore not come undone easily when pulled tight. However, wear and tear is always possible with any product you use; that is simply a fact.
Jootjes Haakcadeautjes does not produce the teething ring itself and can never be held liable for any potential damage caused by loose teething rings. We show a way to make the teething rings that, in our view, is a very reliable method. However, production and use of a teething ring is always at your own risk. Jootjes Haakcadeautjes can never be held responsible for damage resulting from the use of a teething ring produced based on this manual. In any case, our advice is strict. Always use teething toys only under the supervision of a responsible adult!
COPYRIGHT: Jootjes Crochet Gifts, all patterns and instructions from Jootjes Crochet Gifts may only be published by Jootjes Crochet Gifts. The patterns and instructions are for personal use and may not be used for commercial purposes. This manual may not be translated or published on your own site. Sharing a link to the manual is of course allowed, provided it includes source attribution and correct referencing!
Print version available here in PDF:
Teething ring Make – DIY Manual
If you have questions about this blog or our products, send us an email, contact us via WhatsApp, call us, or send us a message on social media. You can also click below to access our contact details: