
Fast shipping
Ordered today, shipped today, at Order before 4:00 PM.

~7000 products
The largest Range in all of Europe.

Lightning-fast support
Call, Whatsapp, Email or reach out to us through social media when you have questions.
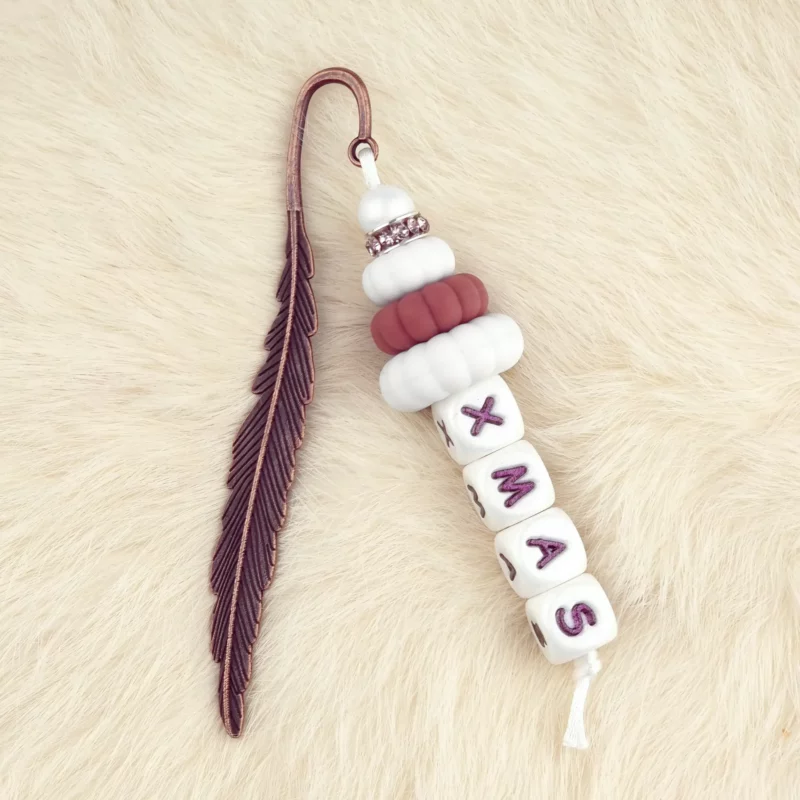
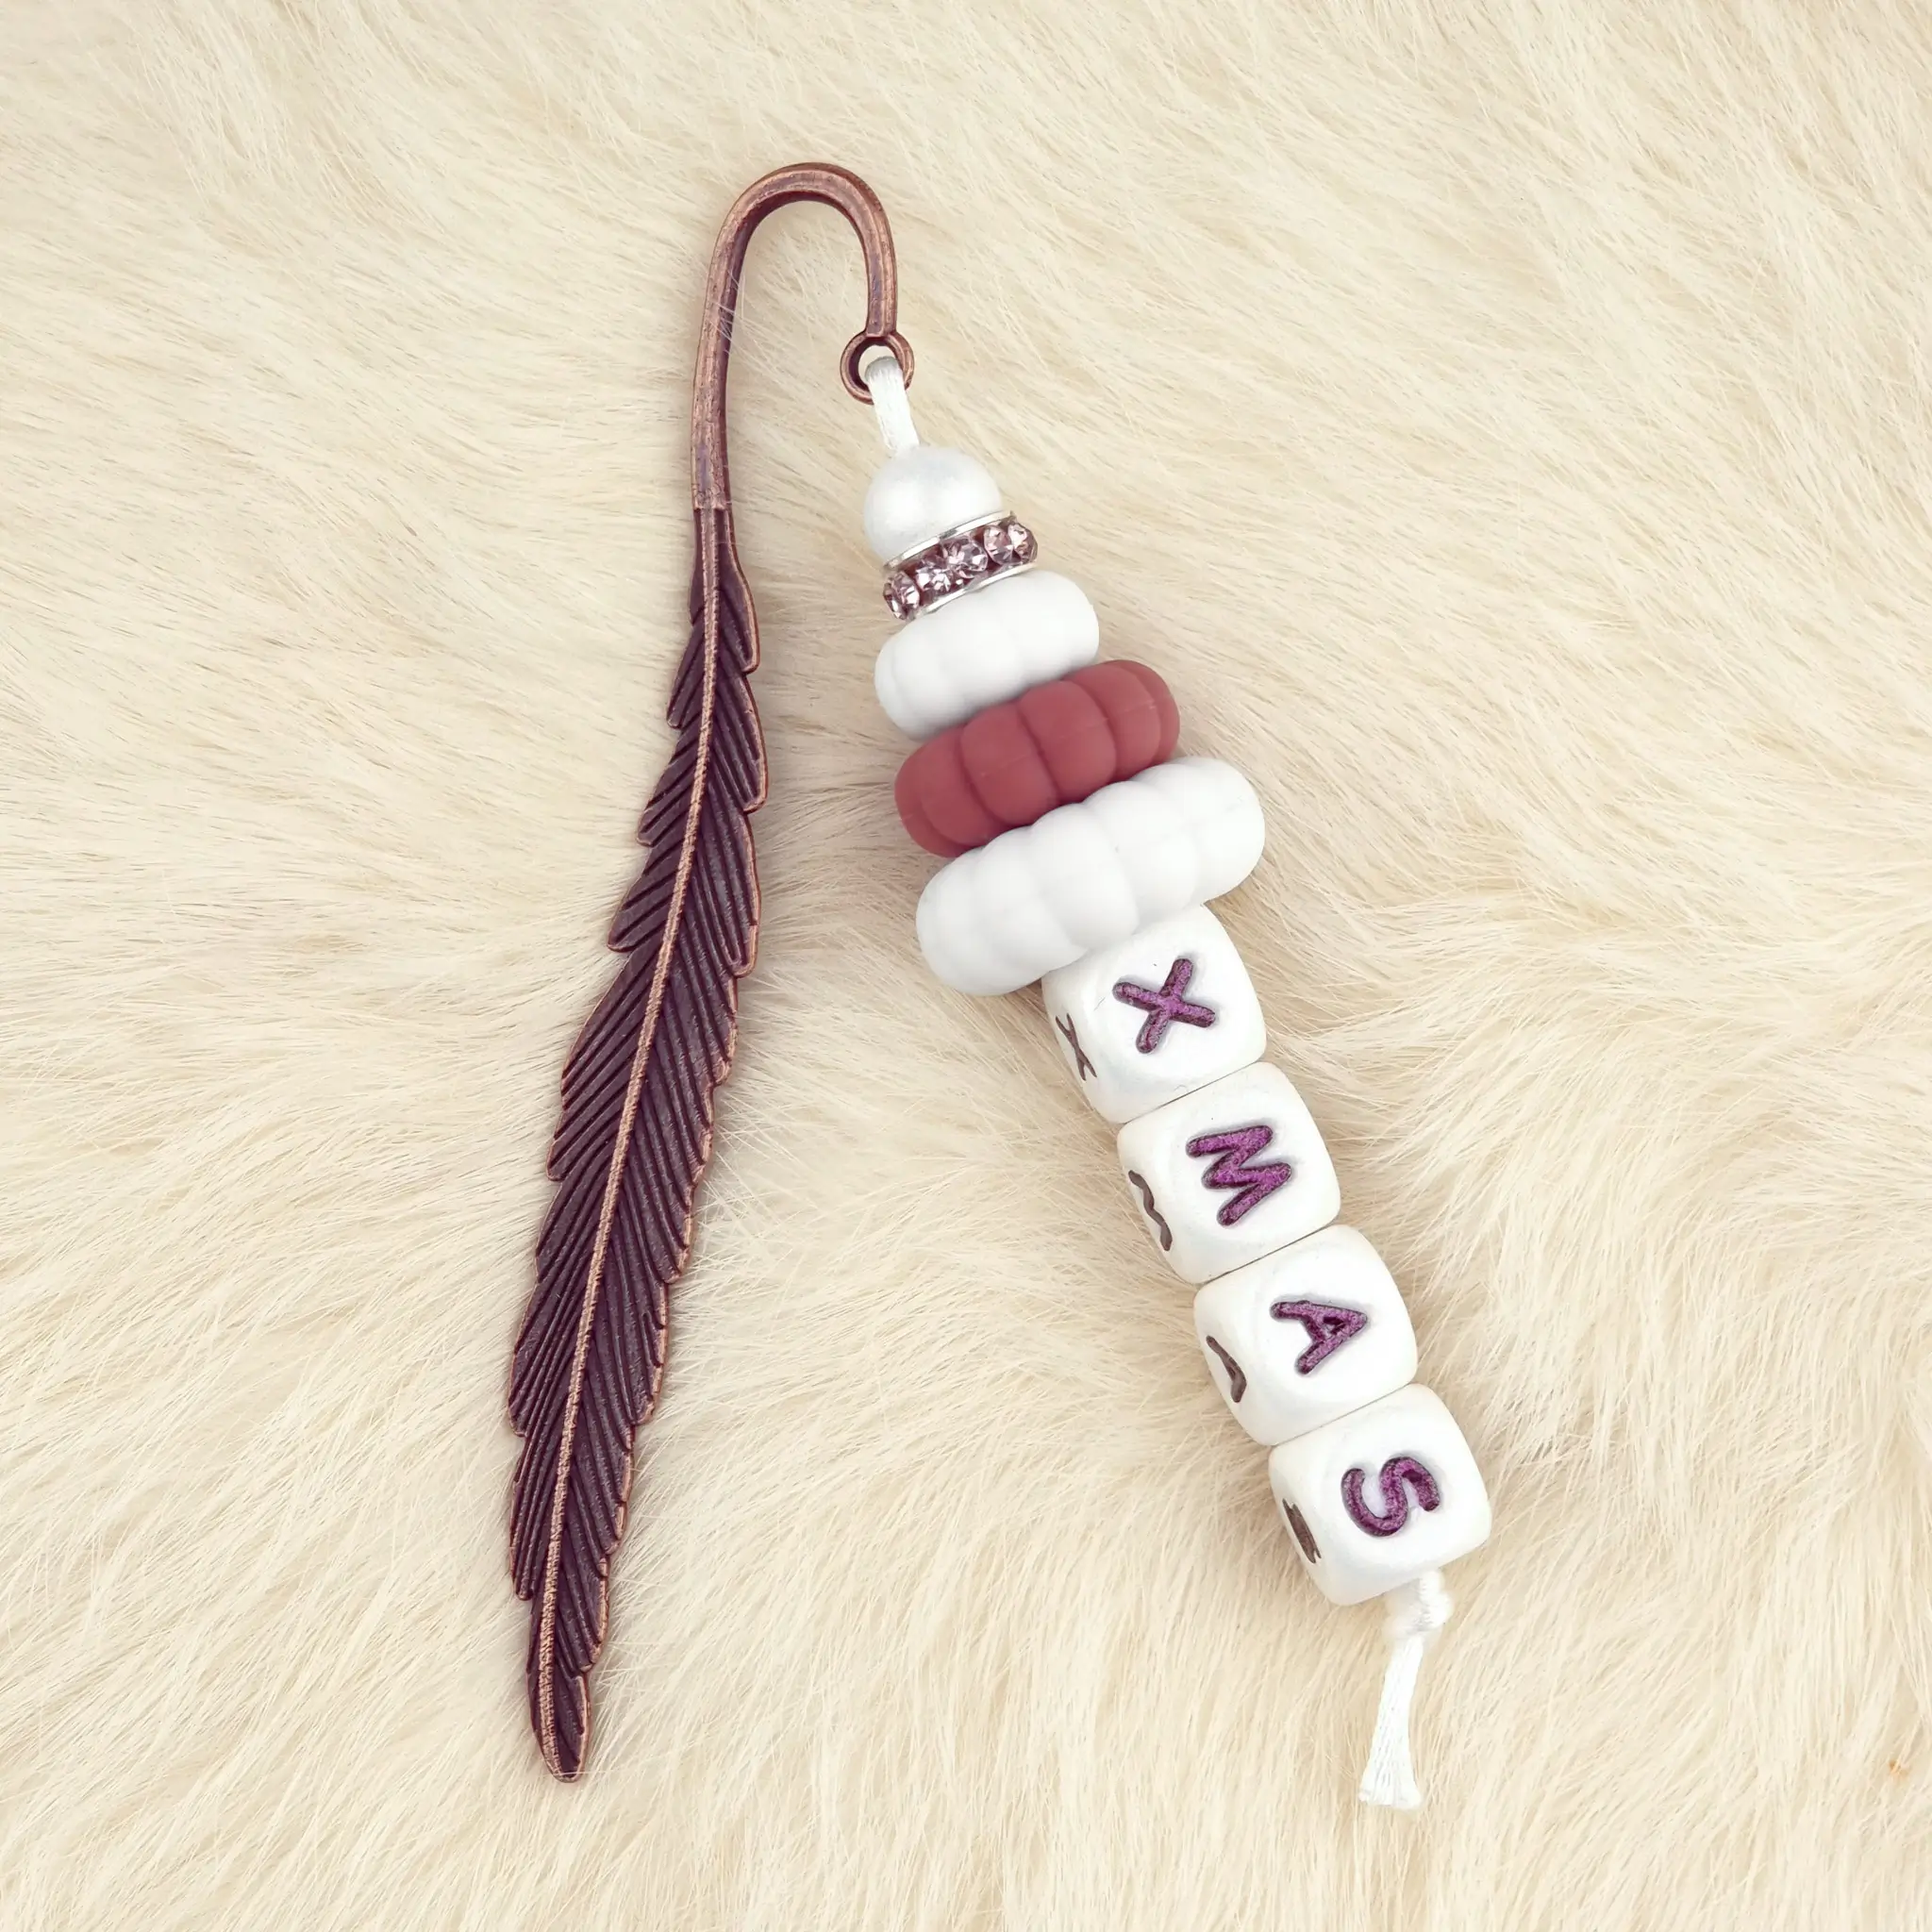
DIY Bookmark XMAS
Materials: Silicone
Difficulty level: Simple
This set includes everything you need to make a homemade XMAS bookmark with silicone beads. We list all the materials from this set above. If you want to assemble one yourself, see which beads we use and choose your own colour design.
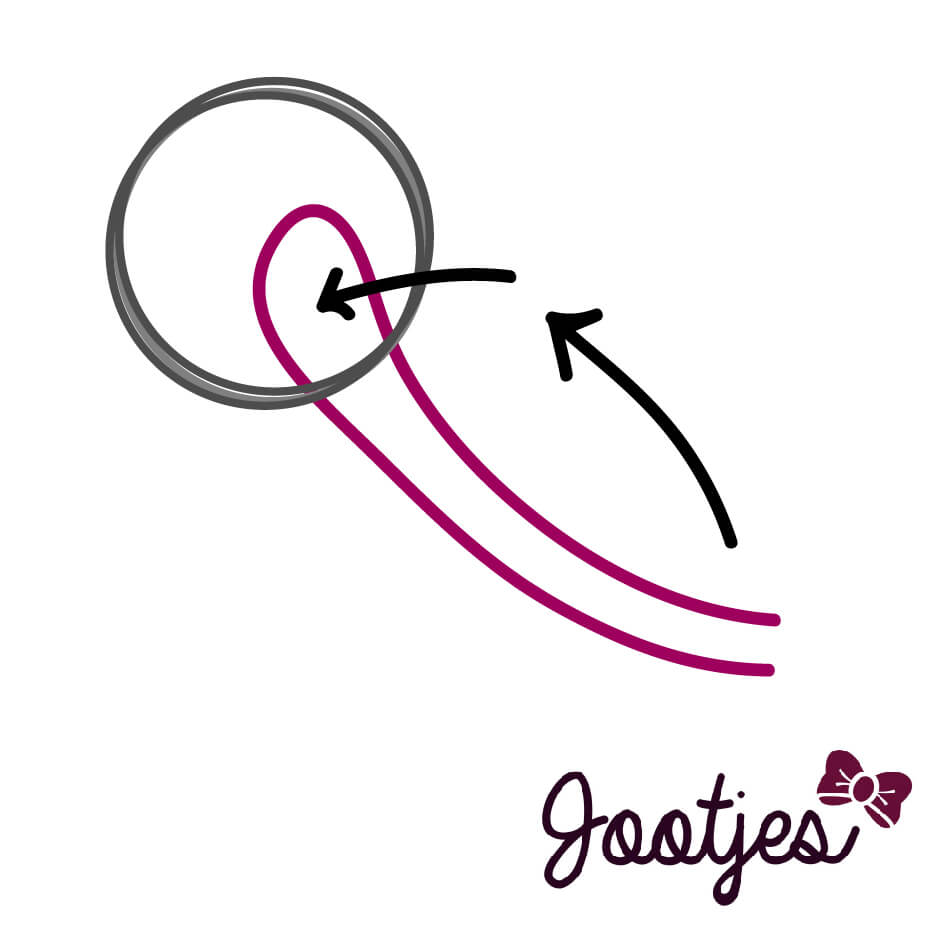
The XMAS Bookmark is very easy to make. You actually make it in the same way as an ordinary keyring. You take the white satin cord and fold it in half. Now you have a loop on one side and two ends on the other side. Then look at your bookmark. At the end there is a ring-shaped part. You take the satin cord at the side of the loop and thread it a little through the opening. Then you take the ends, pass them through the loop, and pull tight.
You can now start stringing the beads onto this. Optionally, you can make a small knot at the top before you start stringing and pull the beads over it. We usually don’t do this ourselves because we prefer to use smaller beads and the knot can’t be hidden well here. Furthermore, we feel it adds little to a creation like this. It actually adds nothing. After you have strung all the beads on, we still need to make a knot. We recommend leaving 0.5 – 1 cm of cord at the top on which you don’t string anything. This ensures that the bookmark can also hang nicely. For tying off the bottom of this child of bookmark, we advise not using a flat knot. Otherwise, the ends tend to splay to the left and right. What you do is place an e-shaped loop on the table, then thread the ends through the loop.
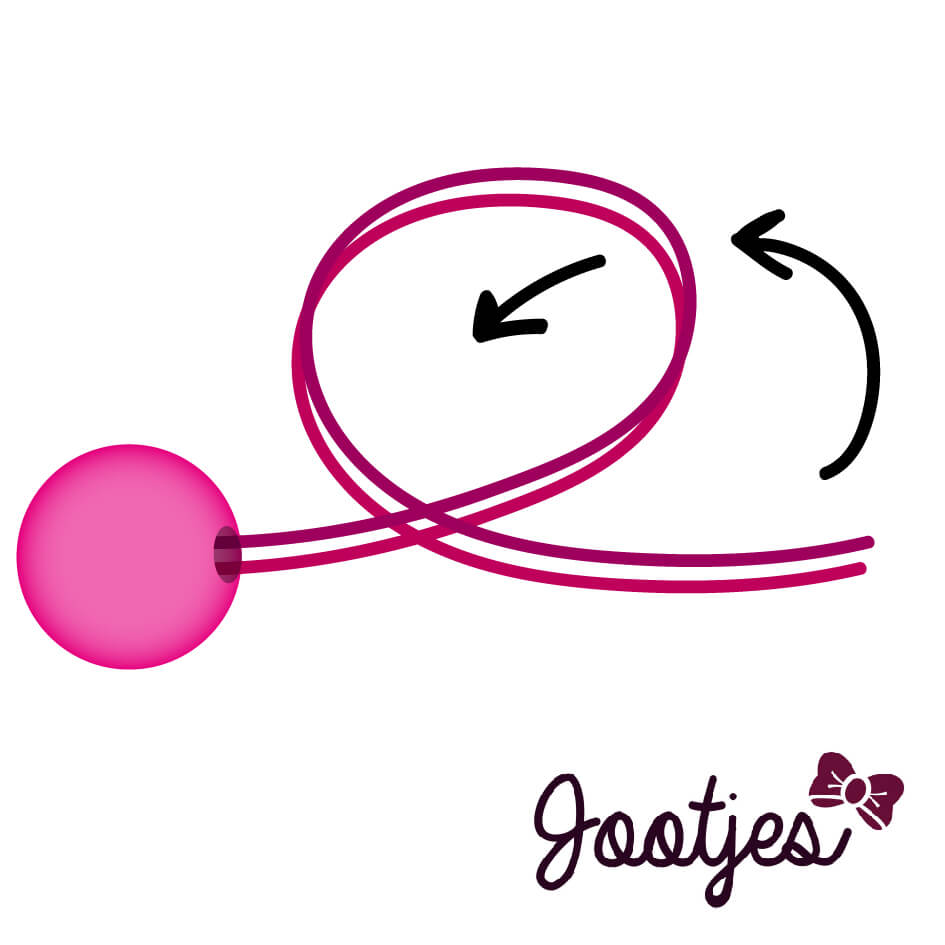
First, pull this gently towards the beads. Then, with your other hand, slide the knot up as far as possible and hold the knot firmly. Be careful not to make it too tight, otherwise you'll lose the extra length at the top needed for the dangling, and the bookmark will sit directly against the side. This way of making charms is a real must‑have skill. The first time you may need to practice a bit, but the more you do it, the easier it gets! Cut the ends about 1 cm beyond the knot. Another tip: briefly singe the ends with a lighter. I often light the lighter and, in a smooth motion, just run the ends through it. This prevents your charm from fraying.