
Fast shipping
Ordered today, shipped today, at Order before 4:00 PM.

~7000 products
The largest Range in all of Europe.

Lightning-fast support
Call, Whatsapp, Email or reach out to us through social media when you have questions.
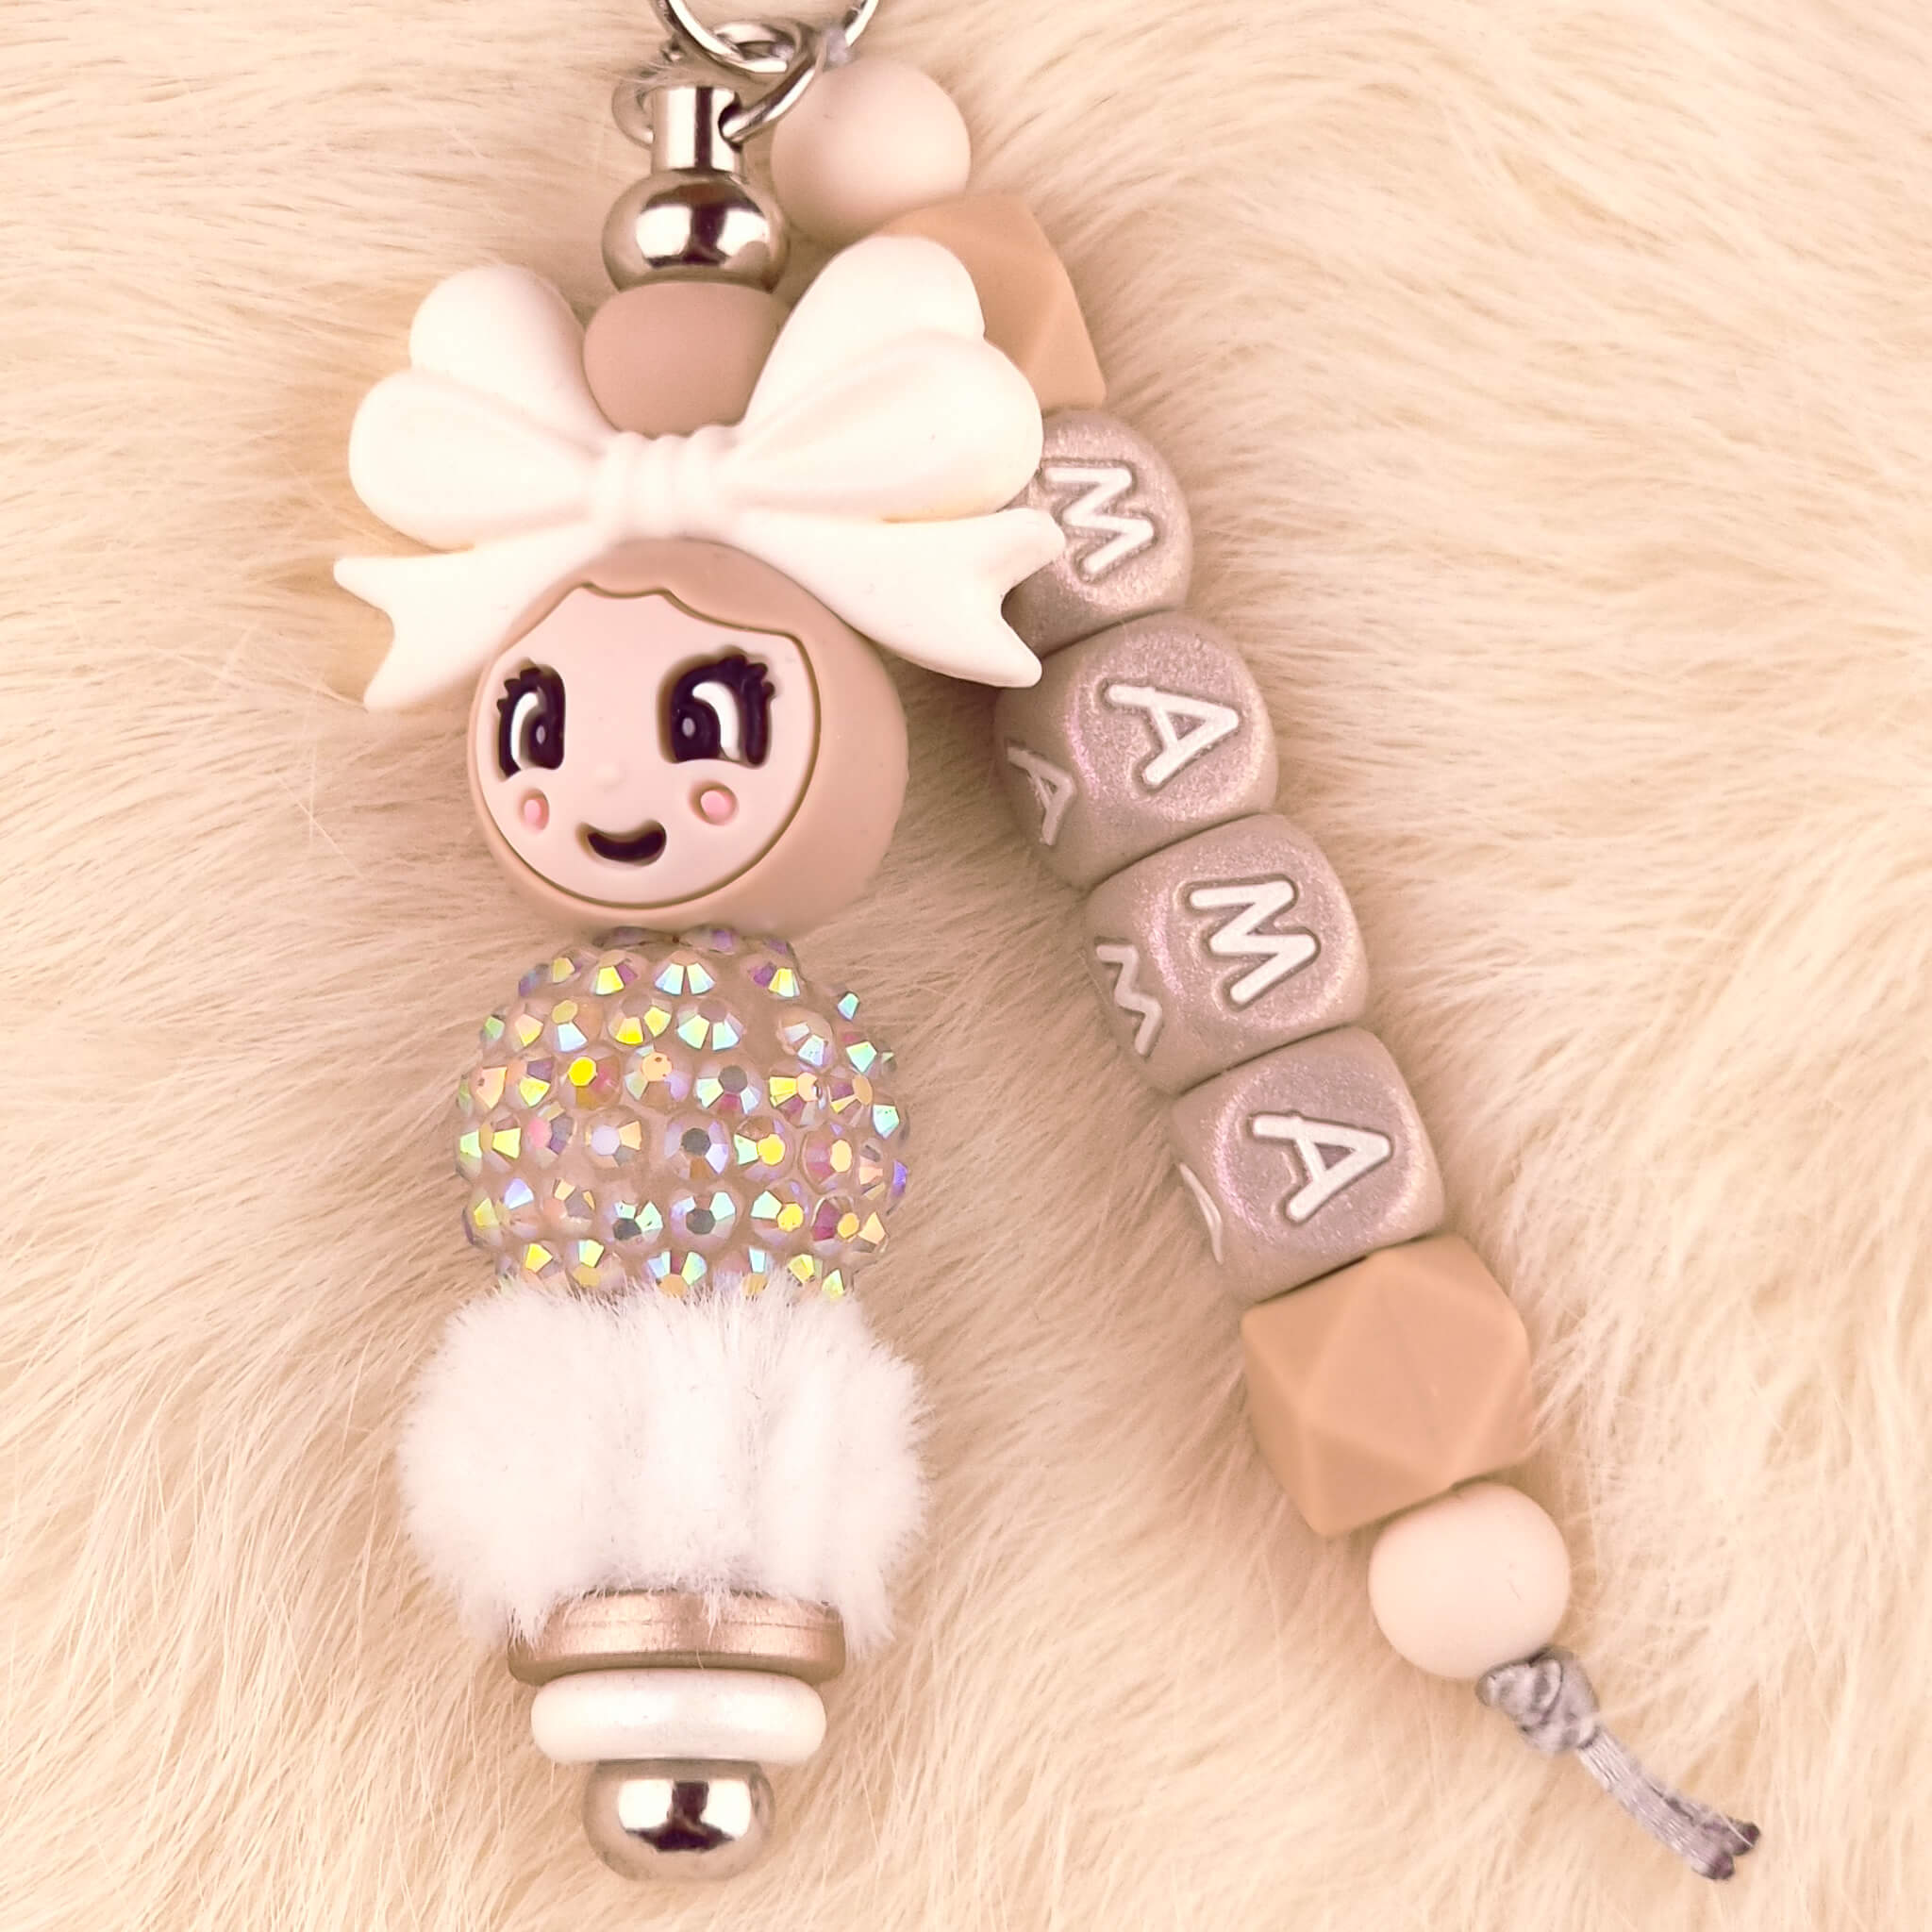
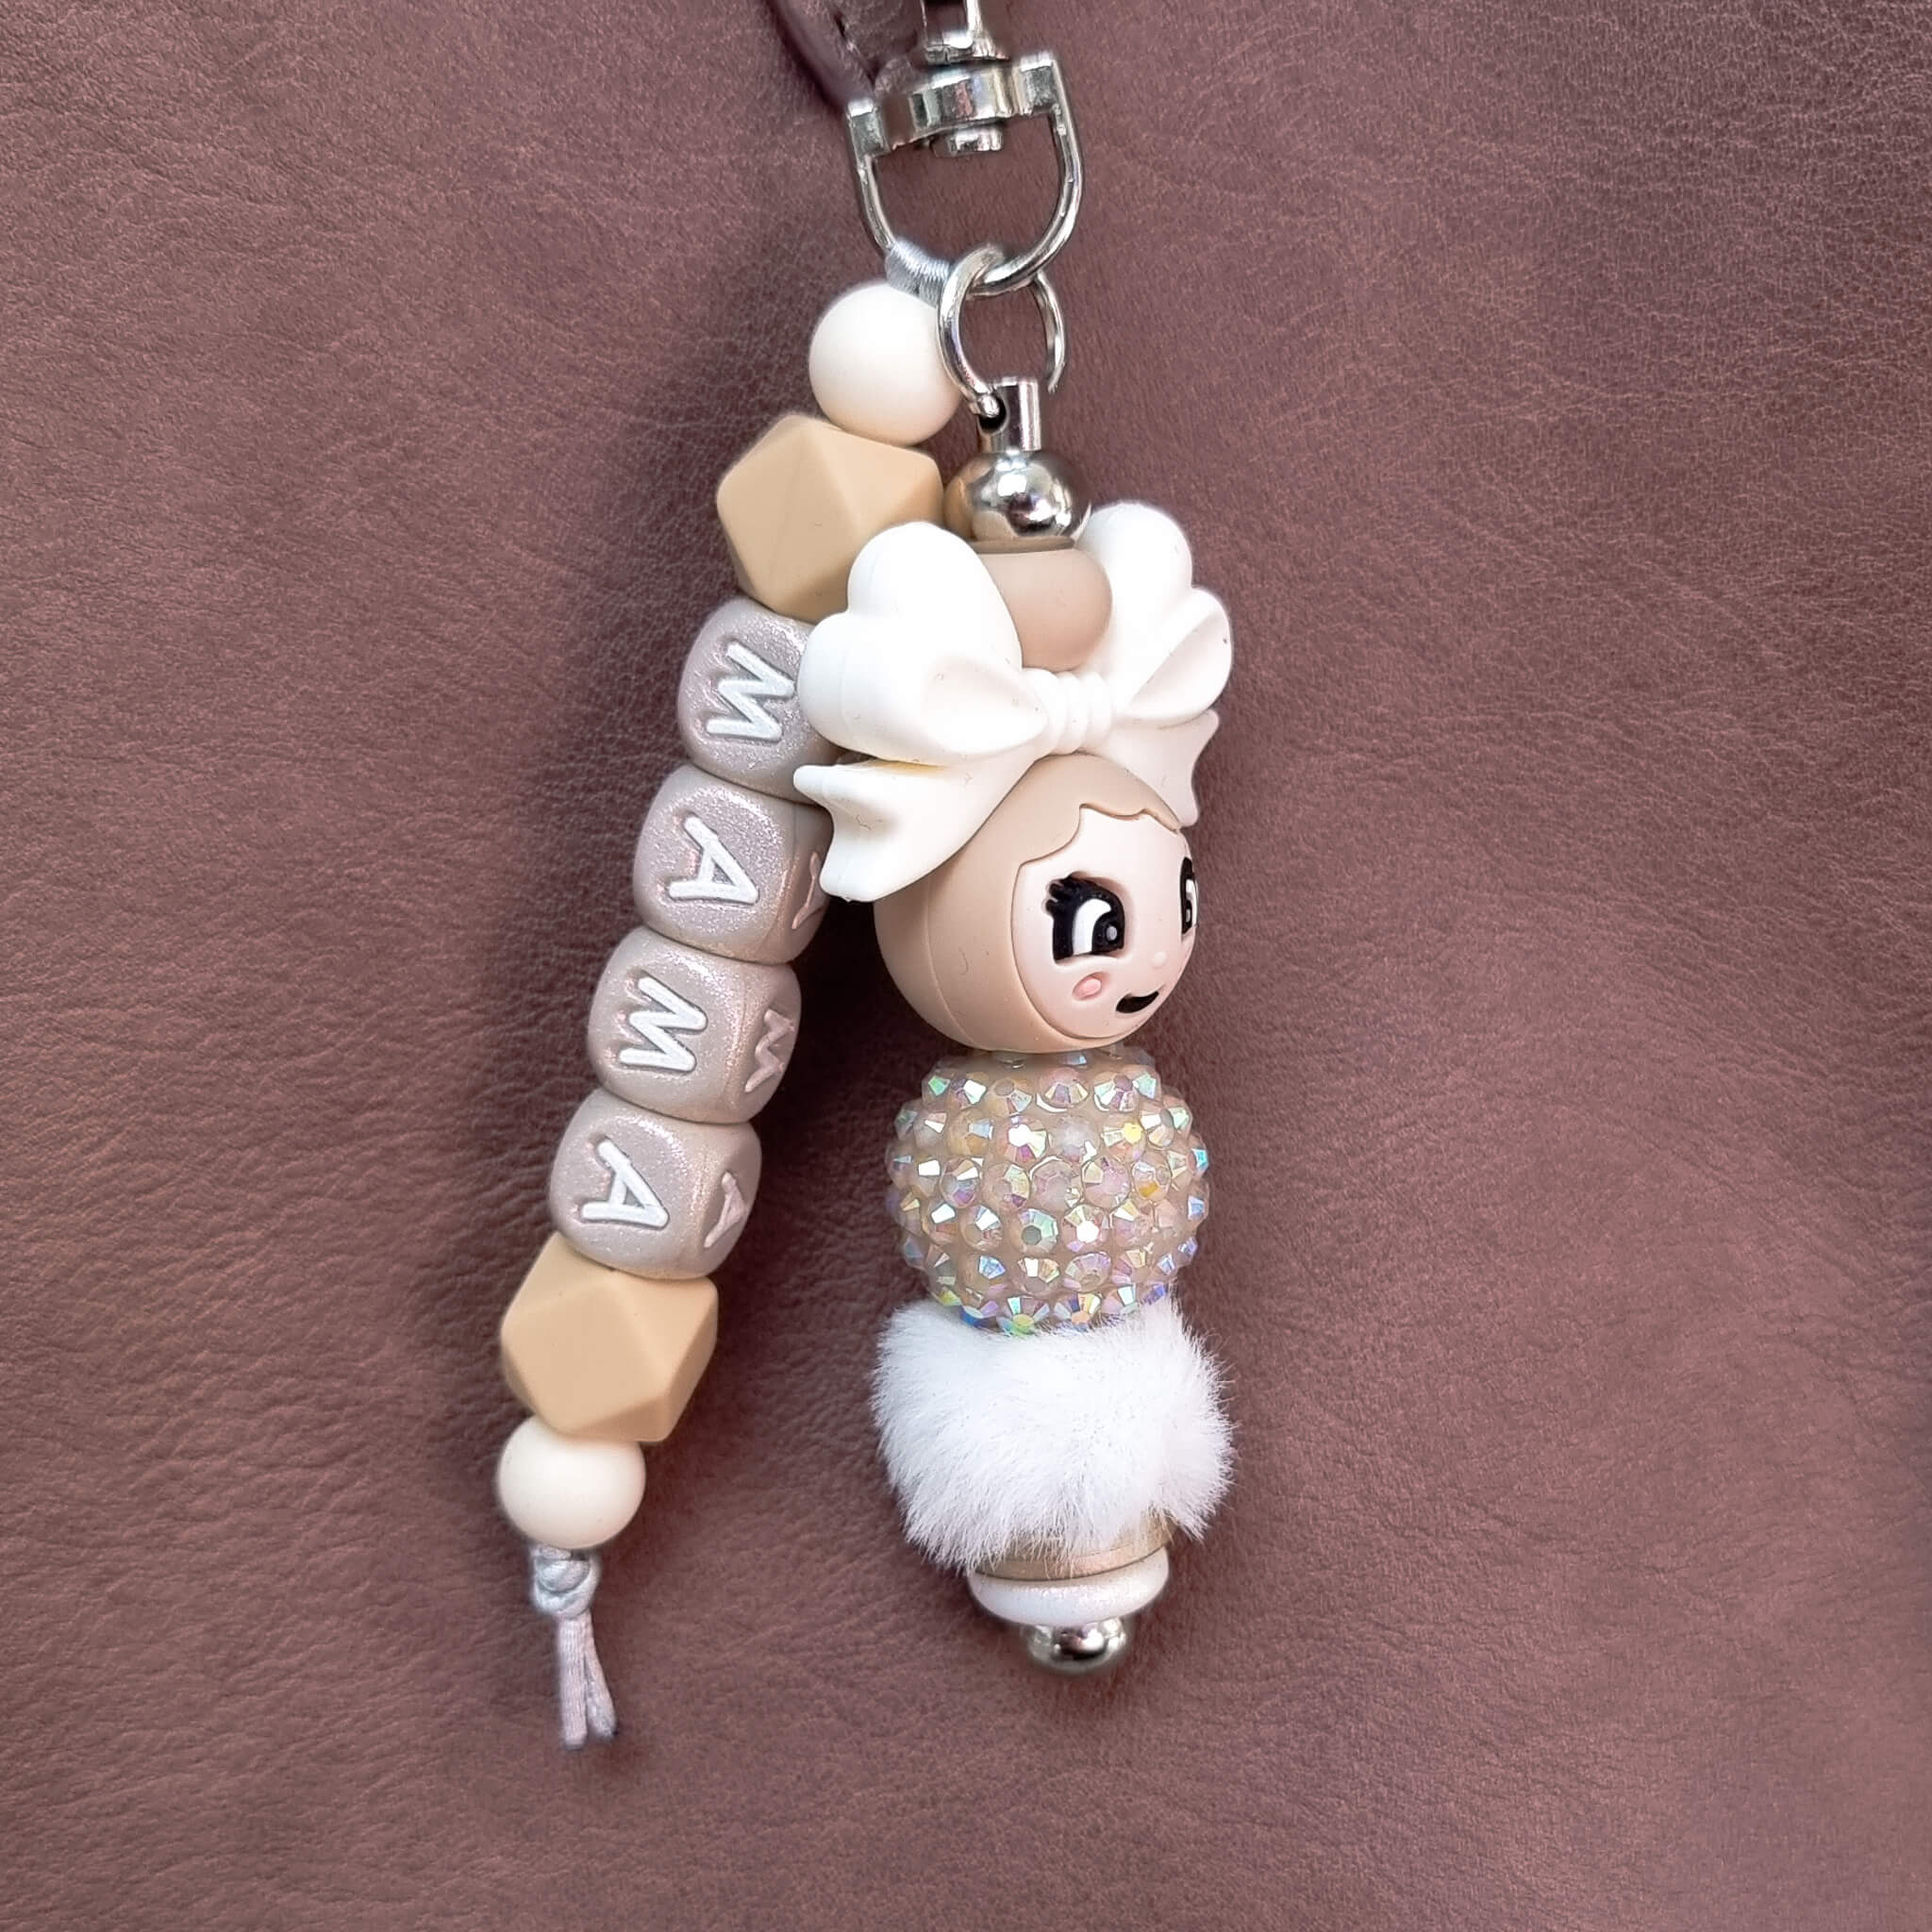
DIY Silicone beads Bundle – Clip-on bag charm – Mum + Girl – Wood
Materials: Silicone beads & Metal Charm
Difficulty level: Simple – Medium
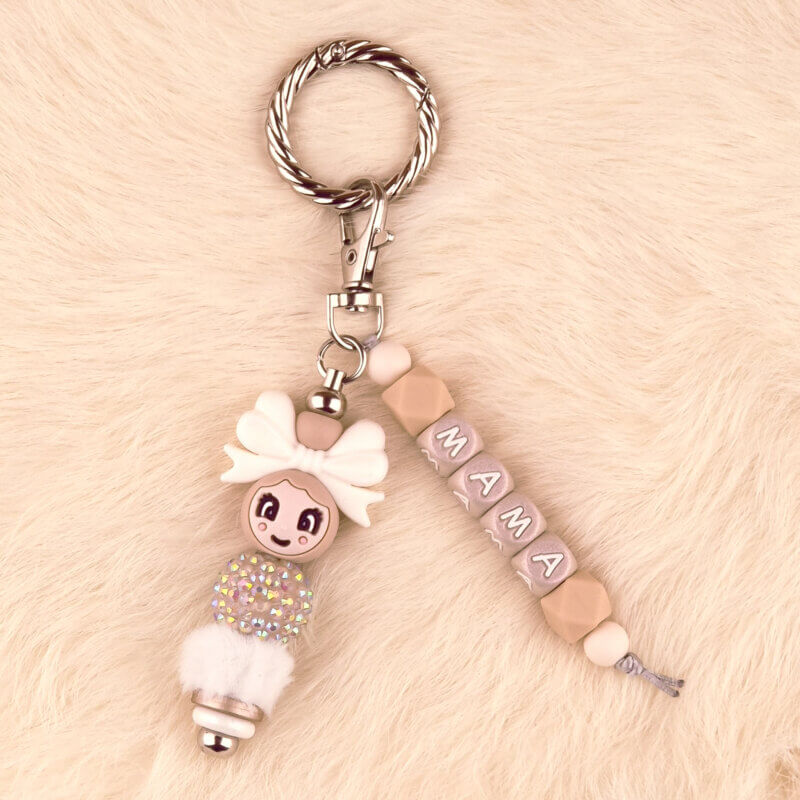
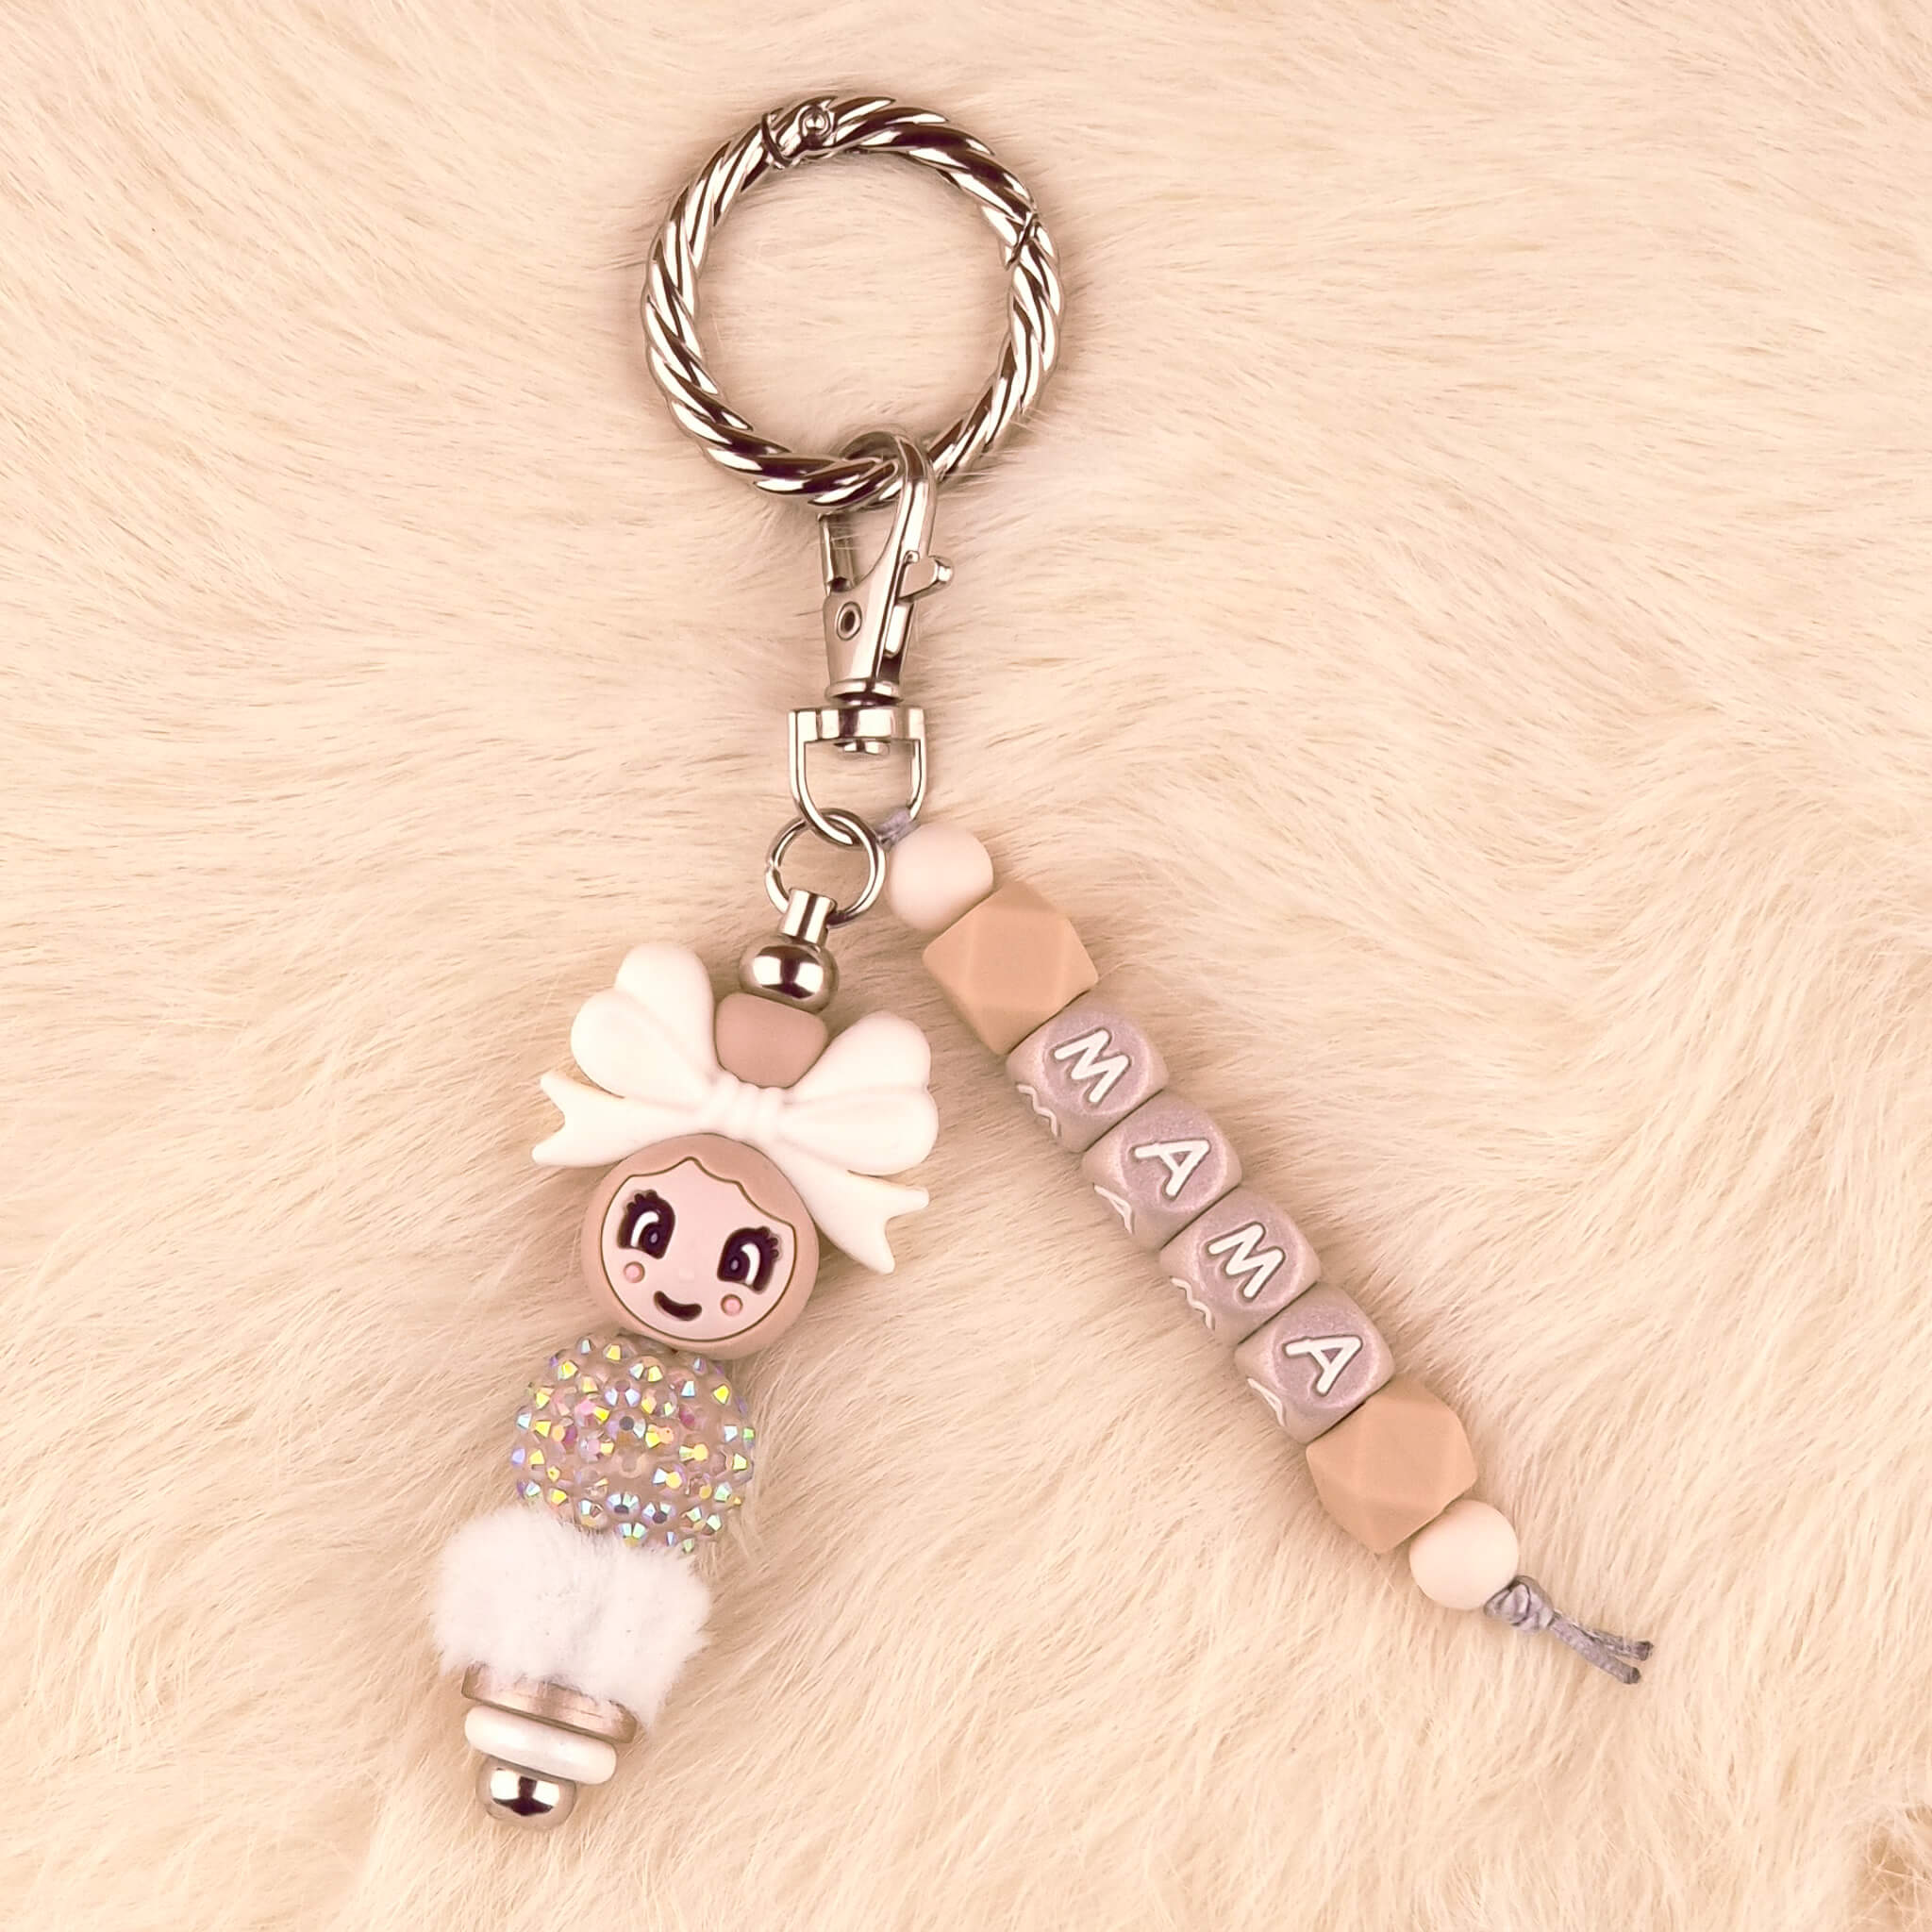
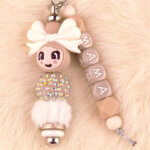
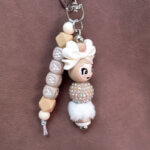
This set contains all the supplies needed to make a homemade clip‑on bag charm from silicone beads. In this case it is the bag charm with the wooden girl and the text “Mum”. We also list all the materials from this set above. If you want to replace an item, for example a brunette girl with a blonde girl, you can assemble it yourself. Simply search for the supplies below and replace the girl’s silicone lucky doll with another one. You’ll find the girls in the Luxury Beads department under Luckypoppetjes / LuckyJo heads and bodies.
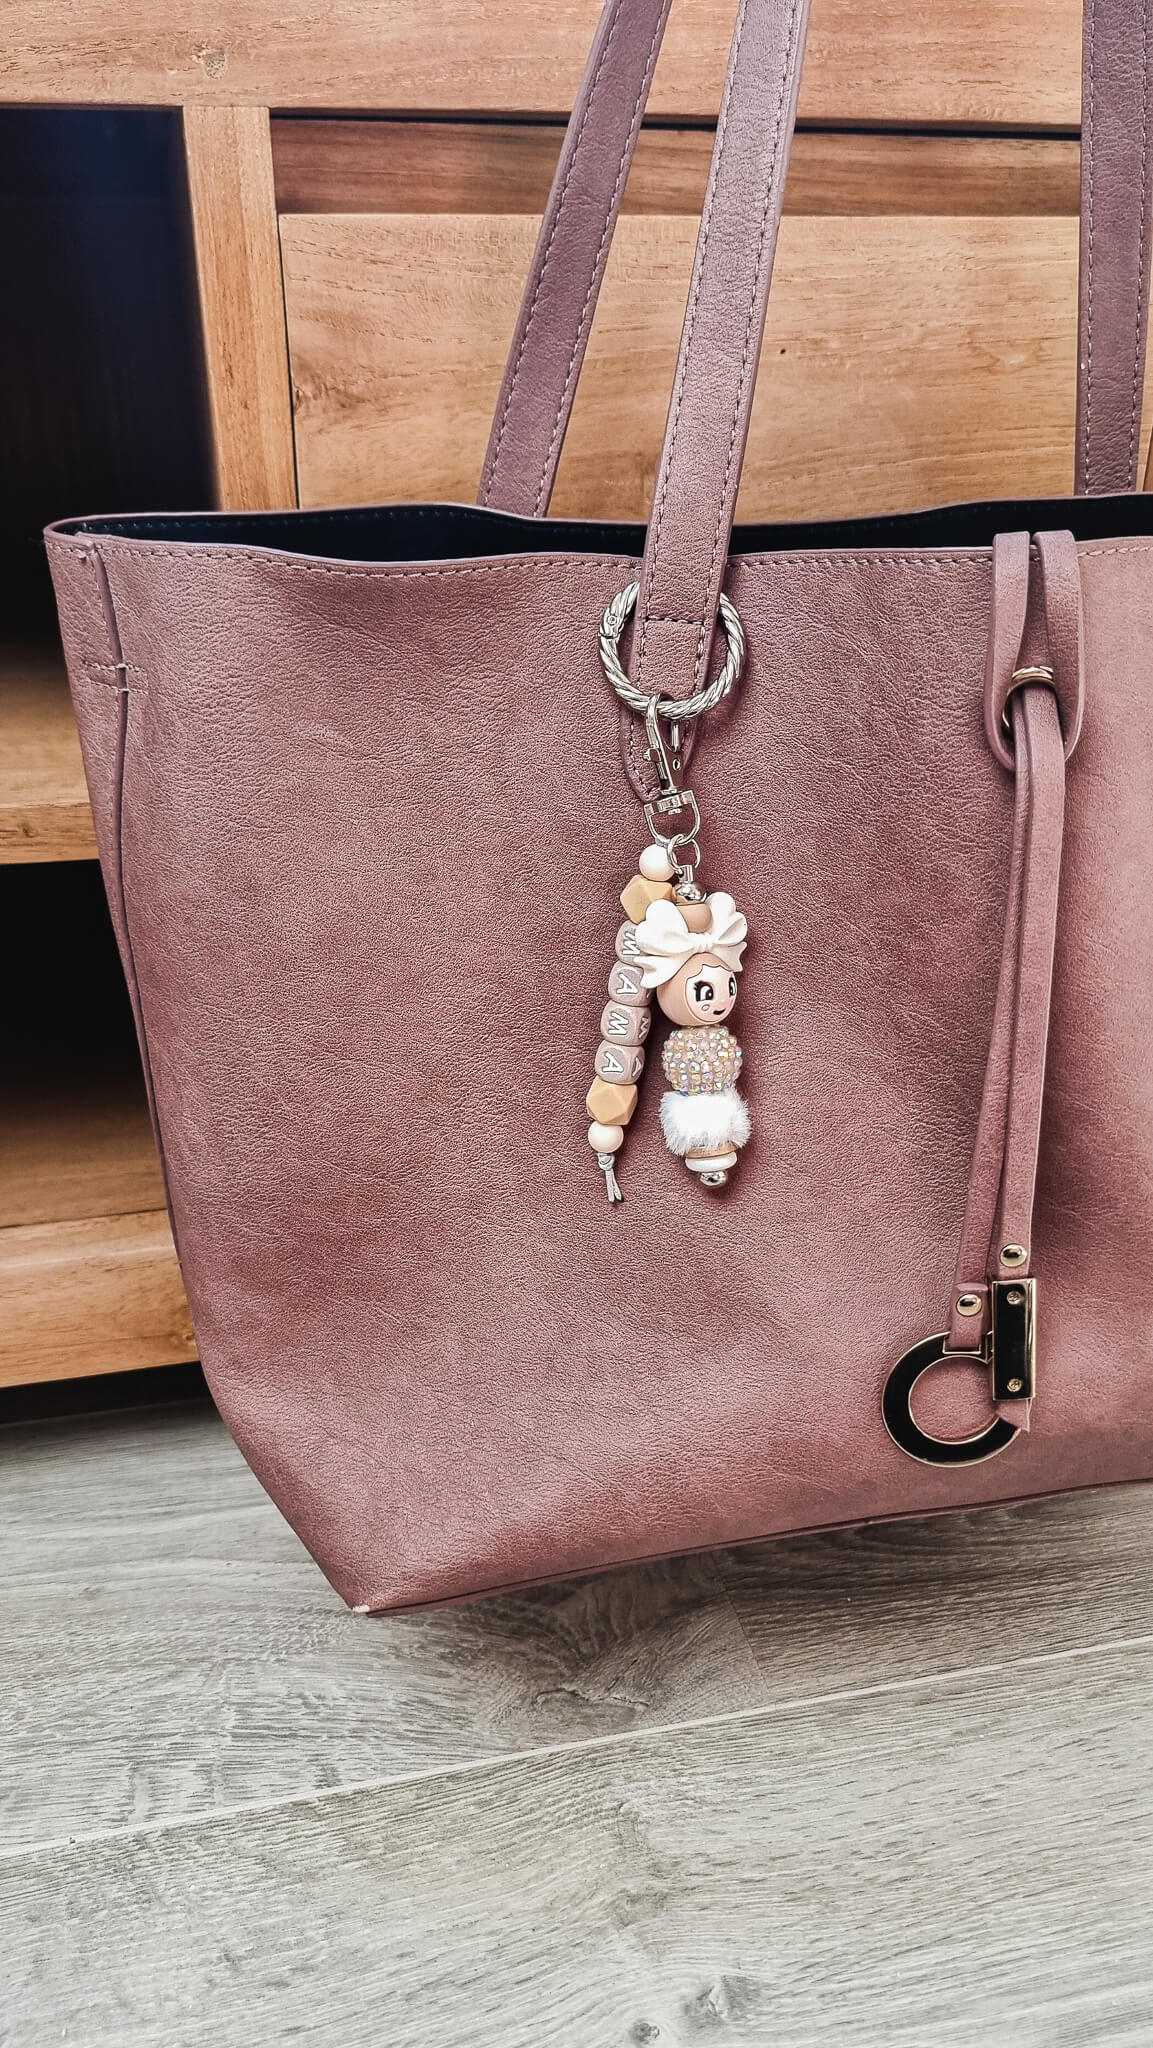
A pendant like this is very easy to make. We recommend using a combination pliers for this. If you don’t have one yet, you can also find it in our tools. First, a clip‑on hook is supplied. This is a round hook with a segment that can fold inward. This ring is slightly larger than a standard keyring and therefore fits perfectly around the handle of a bag. We will make the pendants on this clip‑on ring.
To start, the lucky charm. You will receive a pendant. The balls at the top and bottom can be unscrewed. After you have unscrewed one side, thread the beads onto it. Then press it firmly onto the rod (the entire thread must remain free) and hold it securely in one hand. With the other hand, screw the ball back on. TIP: Some combinations are a bit “fuller.” First press firmly on the rod so you can easily screw the ball on. If you don’t do this, the silicone beads can press onto the ball quite quickly, even though they have only been screwed onto the thread a little. This can be bad for the quality of the thread.
We’ll attach this charm to the clip‑on hook. You can hang it directly on the ring, but we find it more convenient to use a musketoon hook. This is also because we’ll be making a second charm. The combination pliers come in handy here. Open the top ring of the charm, hook it onto the musketoon hook, and close it again. If you have a slightly larger or coarser combination pliers, you can slip a small piece of kitchen roll between them. That way you won’t damage the charm itself.
Next we move on to the “Mum” pendant. We actually make it in the same way as an ordinary keyring. You take the silver satin cord and fold it in half. Now there is a loop on one side and two ends on the other. Then we look at the pendant we already have. At the bottom of the musket hook we just used there is a ring‑shaped part, to which we have just attached the metal pendant. We will also make the Mum pendant here. You take the satin cord at the side of the loop and thread it a little through this opening. Then you take the ends, pass them through the loop and pull tight.
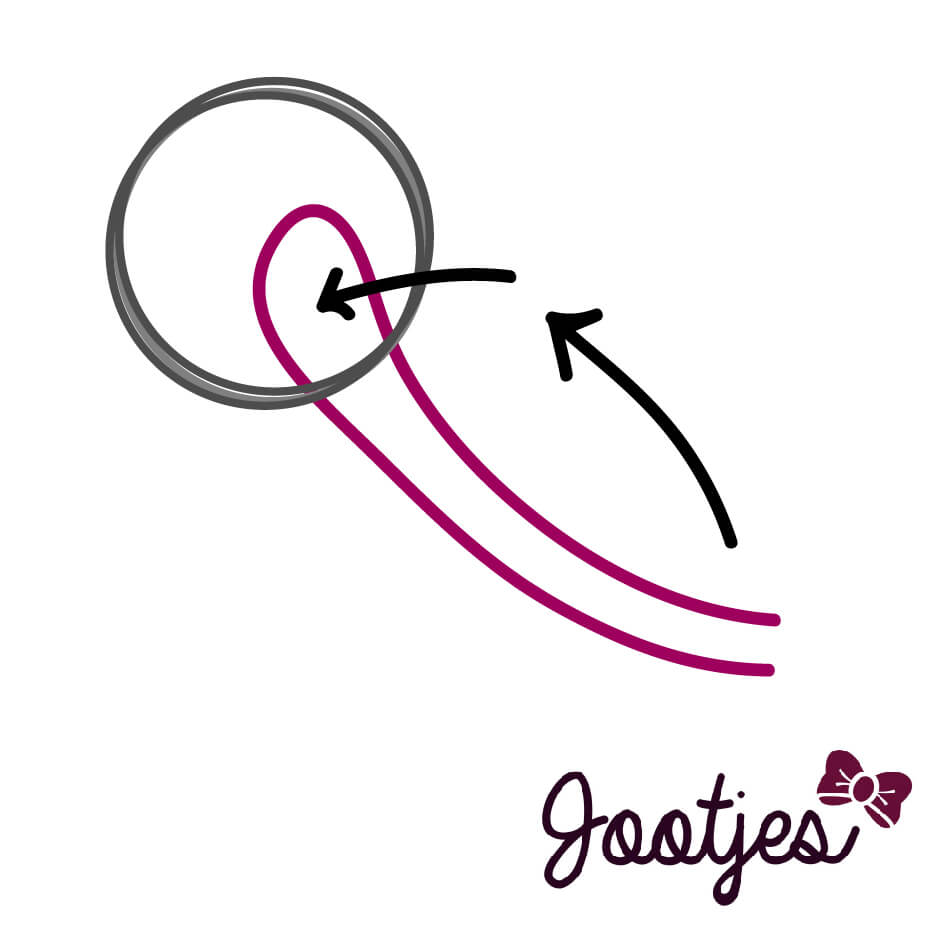
You can now start threading the beads onto this. Optionally, you can tie a small knot at the top before you start threading and pull your beads over it. We usually don’t do this ourselves because we prefer to use smaller beads and the knot can’t be hidden very well here. Besides, we find it adds little to a creation like this. It actually adds nothing. After you have threaded all the beads onto it, we still need to tie a knot. For keyrings we recommend not using a flat knot. The ends tend to stick out to the left and right then. What you do is lay an e-shaped loop on the table, then pass the ends through this loop.
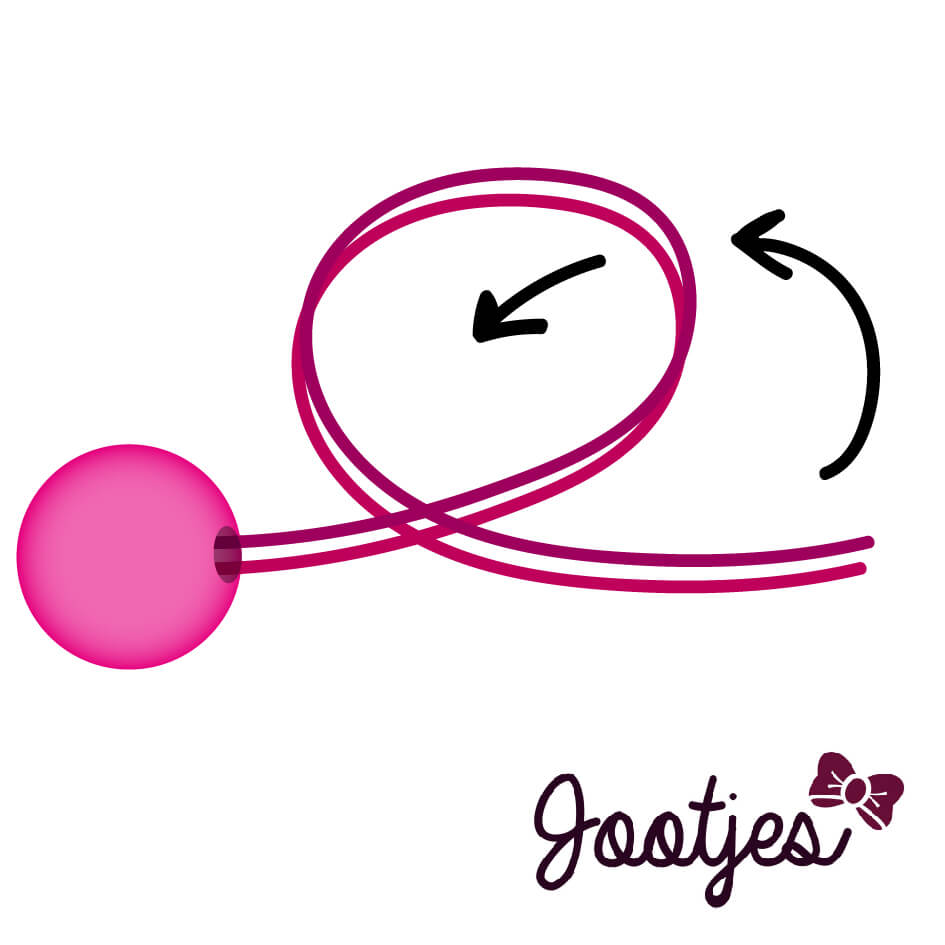
First, pull this gently toward the beads. Then make sure the beads sit as tightly as possible on the cord against the keyring. Next, slide the knot up as far as you can with your other hand and tighten the knot. This way of making keychains is a real must‑have skill. The first time you may need to practice a bit, but the more you do it, the easier it gets! Cut the ends about 1 cm past the knot. One more tip: briefly singe the ends with a lighter. I often light the lighter and, in a smooth motion, just run the ends through it. This prevents your keychain from fraying.